Physical Installation
Drilling, Mounting etc
Concrete Drilling
Tips
- Drilling through solid cement walls really sucks. We should probably get contractors to do this rather than doing it ourselves if at all possible.
- There are two sizes of hammer drill bits, SDS-Plus and SDS-Max. The hammer drill we have at the Mesh Room is SDS-Plus, which is the smaller size. This can do up to a 1" bit max it seems.
- SDS-Max drills are expensive, 500$ to buy + ~100$ bit, better to rent if we don't use them often.
- There's rebar inside cinder block walls. If you hit it it's basically impossible to drill through, unless you have a special rebar cutting bit.
- Drill a small (1/4") pilot hole through the wall first. This is basically required to get the hammer drill to not jump around when starting the hole, and it allows you to confirm where you're gonna come through on the other side in case you have to drill from both sides and meet in the middle.
- 2" SDS-Max core drill is the perfect size for the OD of 1 1/2" electrical conduit, which is 1.9" OD
- Stucco outside wall treatment sucks. You can't screw into it, it's basically made of styrofoam.
- Bring a vacuum for dust collection, or a dust mask. Preferably both.
- Clean out holes with canned air / brush.
Non-Penetrating Roof Mounts/Stands
EZ NP-72-200 (Amazon):
| Model: | EZ NP-72-200 |
| Manufacturer: |
Easy-Up |
| Link: |
Amazon Link |
| Price: | 175$ |
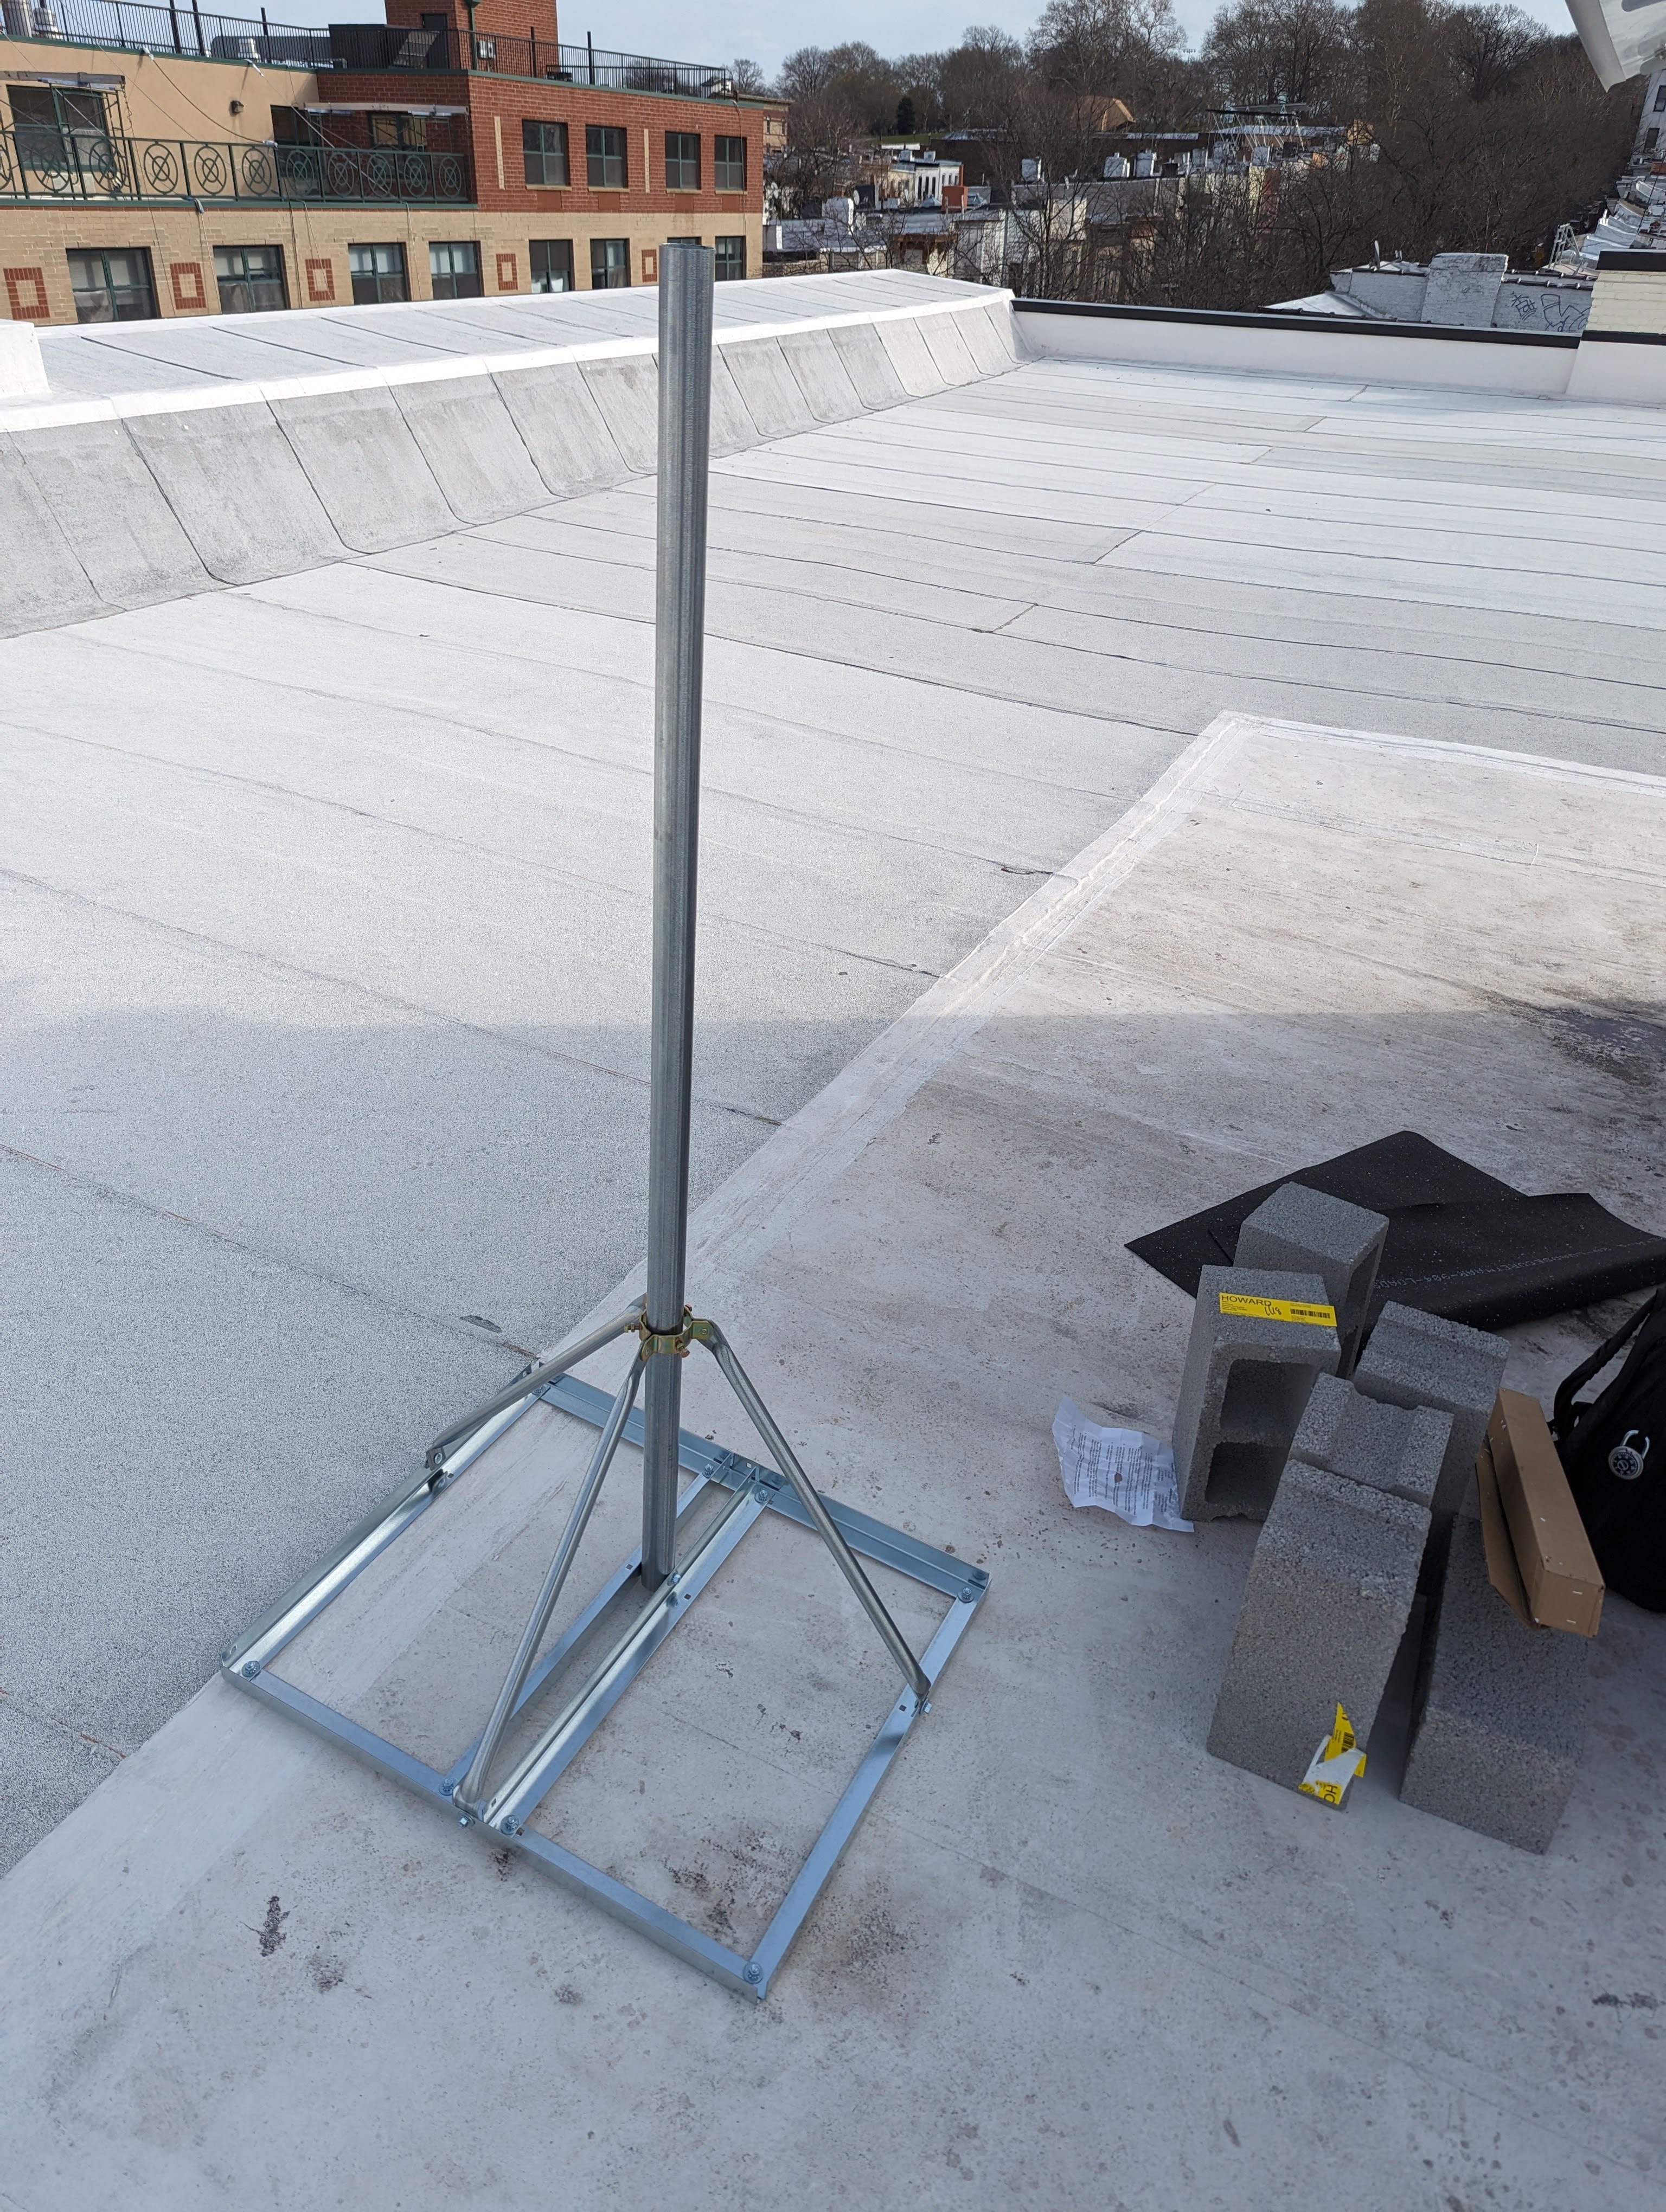
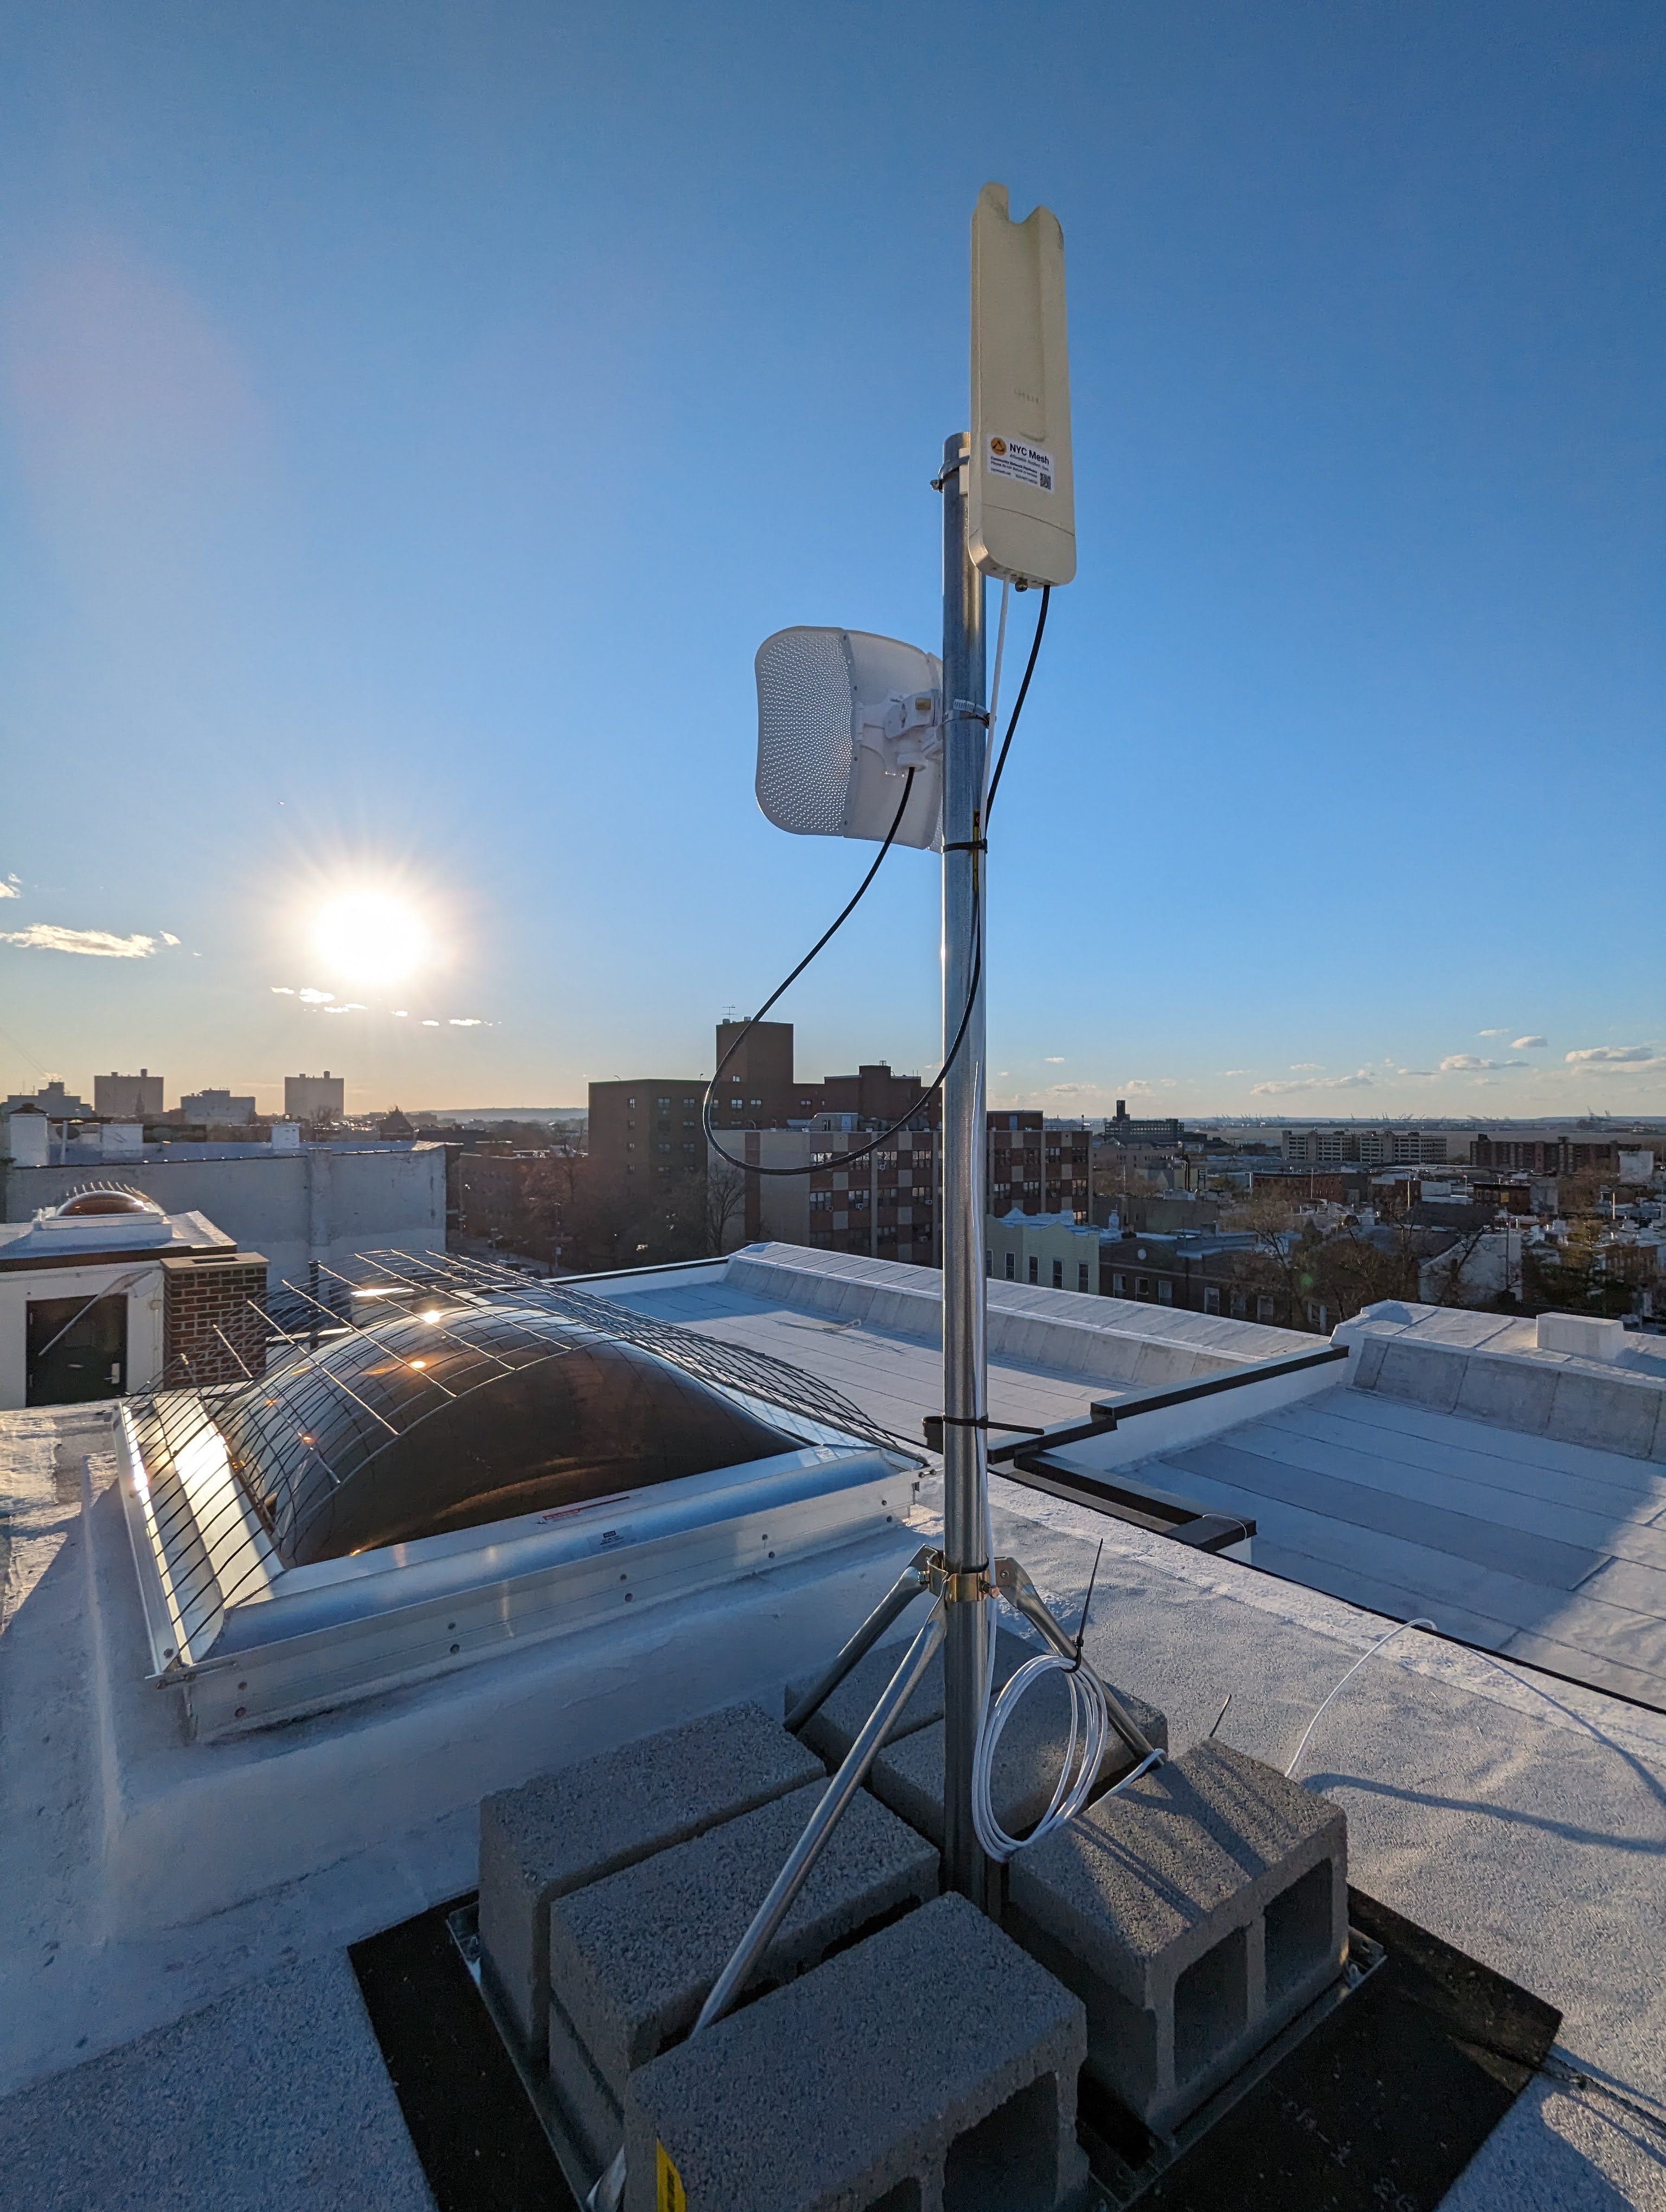
Cheaper stand, includes a mast as well. Feels solid enough for a LiteBeam + Omni, AF60LR, WaveLR or other medium sized antenna. Would probably be reluctant to mount something heavy like a AF24 on it. Maybe mounted low would be fine.
Can hold a max of 8 concrete blocks. (Without stacking them)
Comes with a nice thick recycled (I think) black rubber mat to protect the roof, which is slightly larger than the frame of the stand.
Not the biggest fan of the design. Mast is offset, not centered on the base so there's one direction in which the stand is more likely to topple over. The frame has 3 arms, with a 4 sided base. Should have had 4 arms extending to each corner of the base.
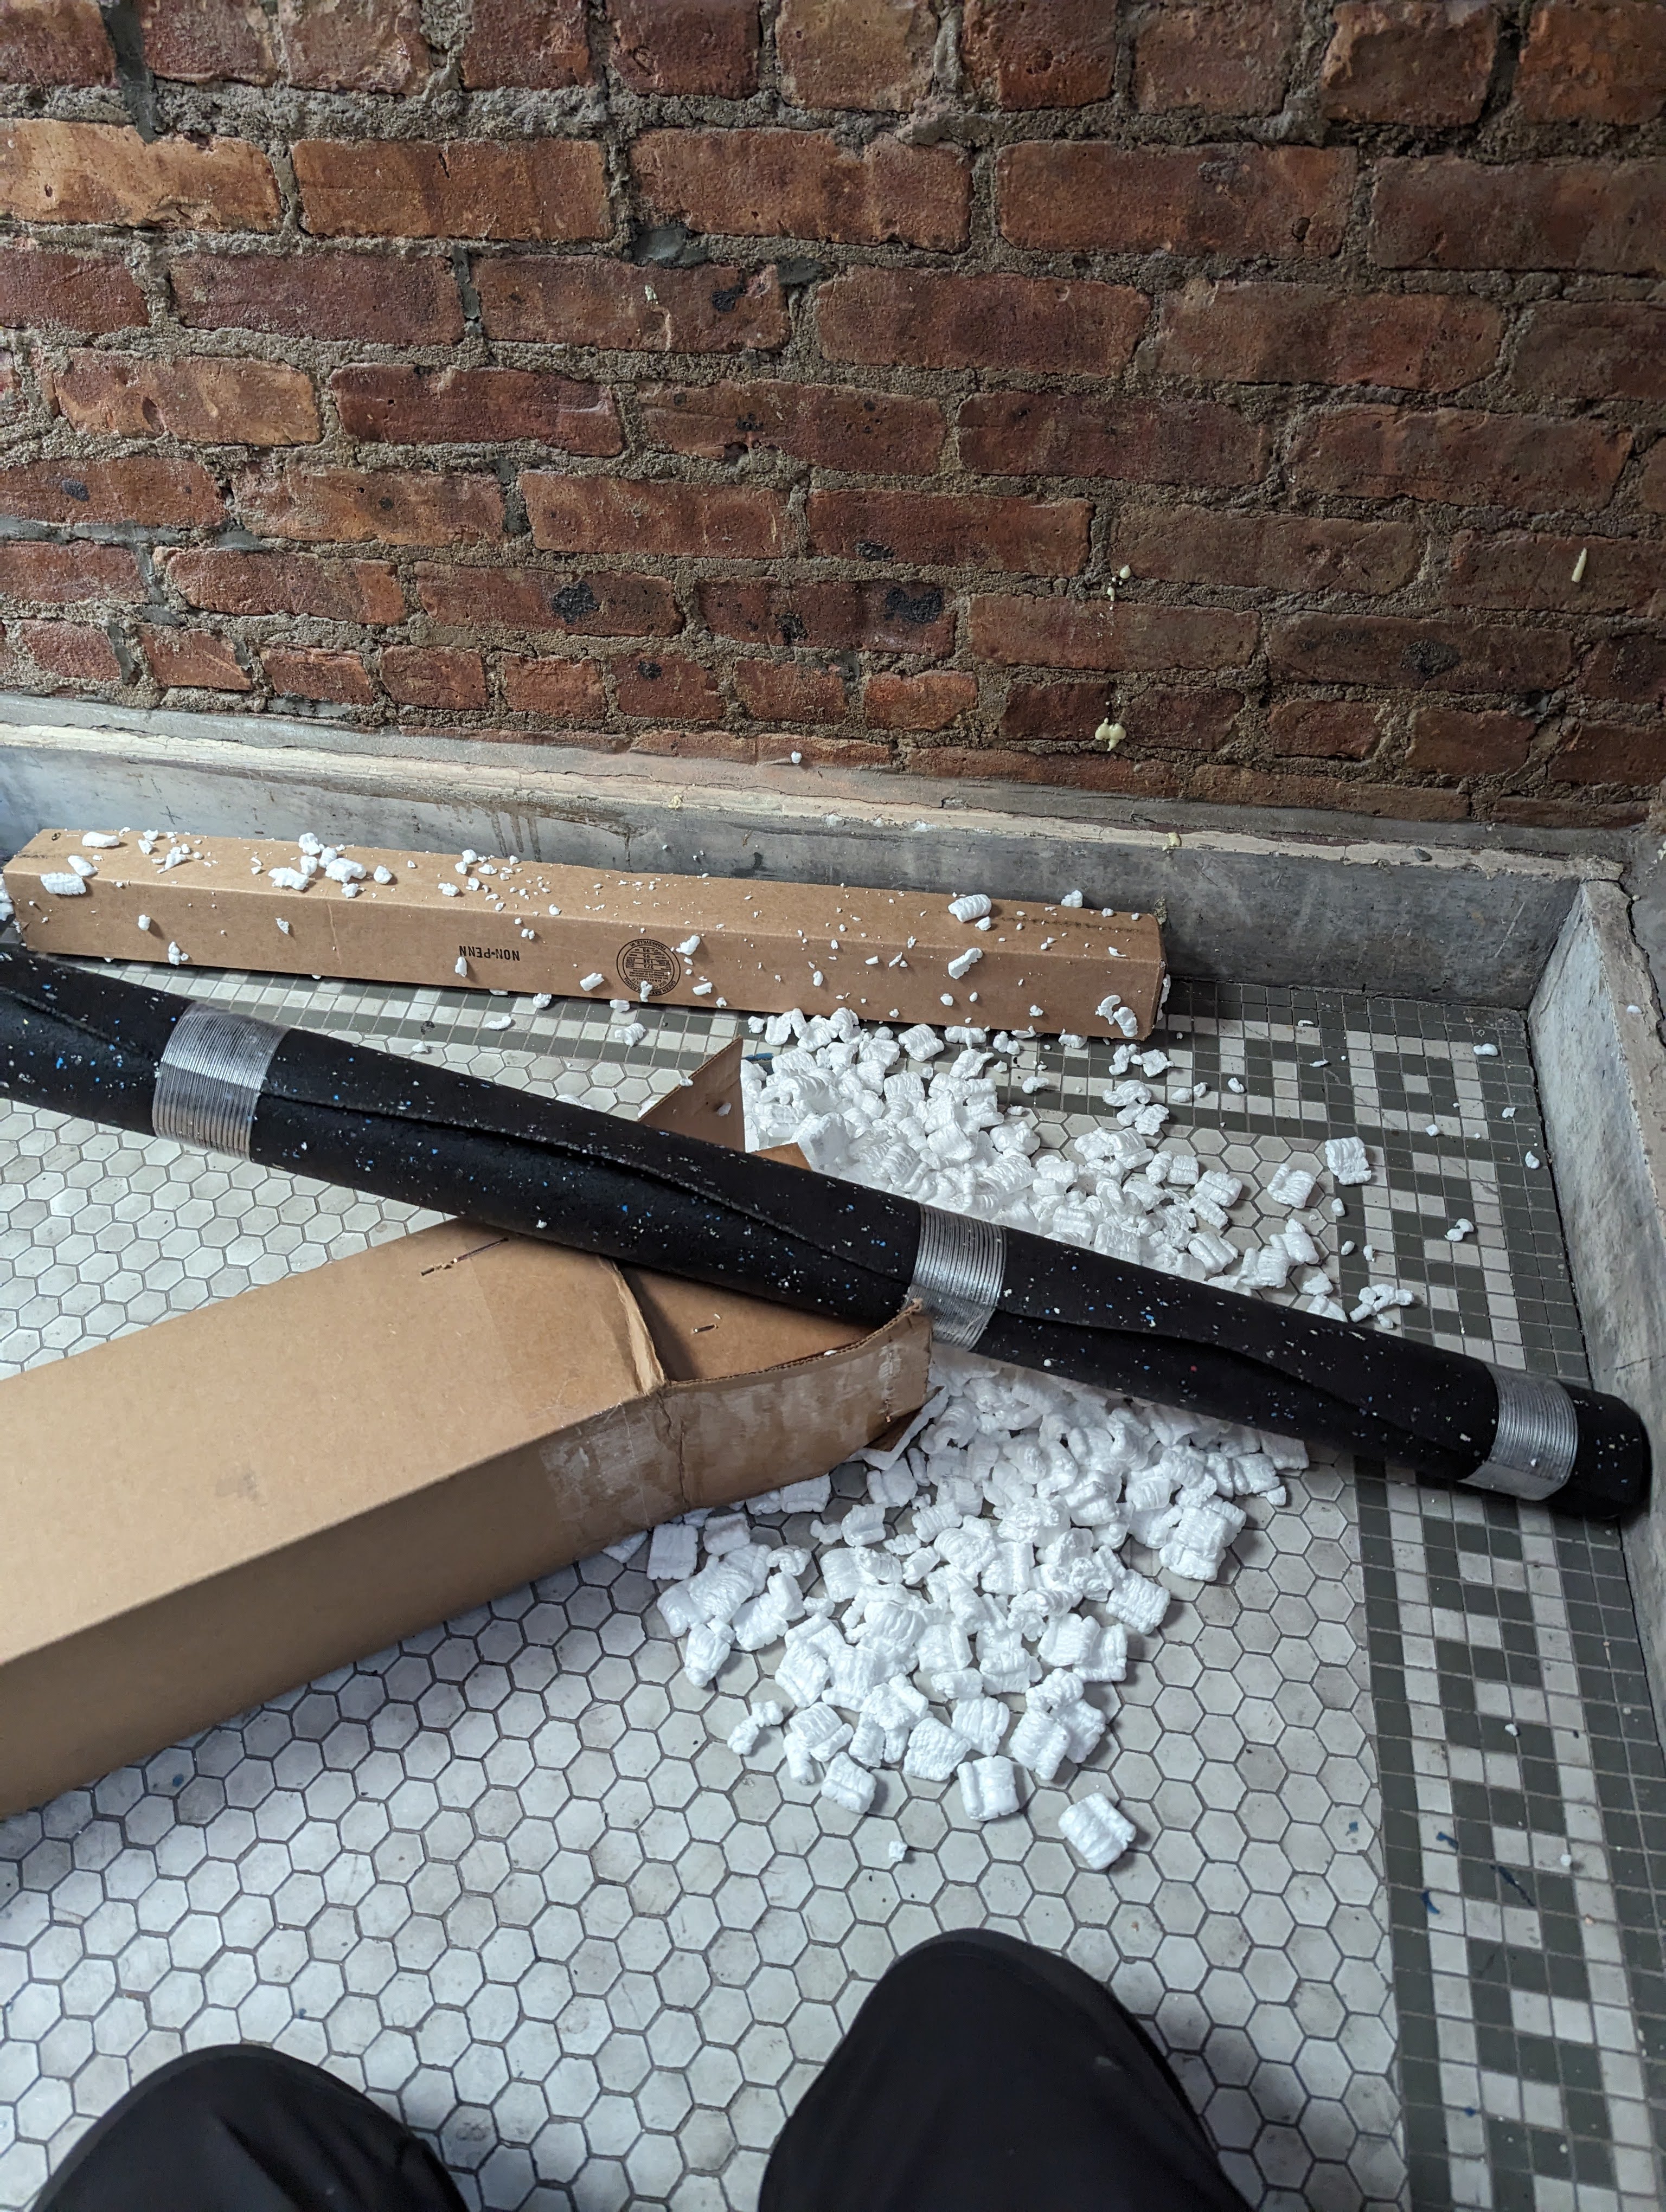
Also whoever decided that filling the box with packing peanuts was a good idea deserves to be fired. Can't open the box on a roof or anywhere windy for fear of packing peanuts going everywhere.
The stand has a collar for mast at the top, but attaches to the bottom of the mast with hole drilled through and a screw. Has some amount of leveling adjustment, but not as much as stands with two collars. Has 3 adjustment bolts per collar.
The mast comes with the tripod and collar parts already assembled, which saves time and confusion. The base is made of angled metal. All screws are the same size, so no worries about mixing them up. Gloves are highly recommended for assembly, lots of sharp metal edges.
Instructions don't have a picture. That would be nice to have.
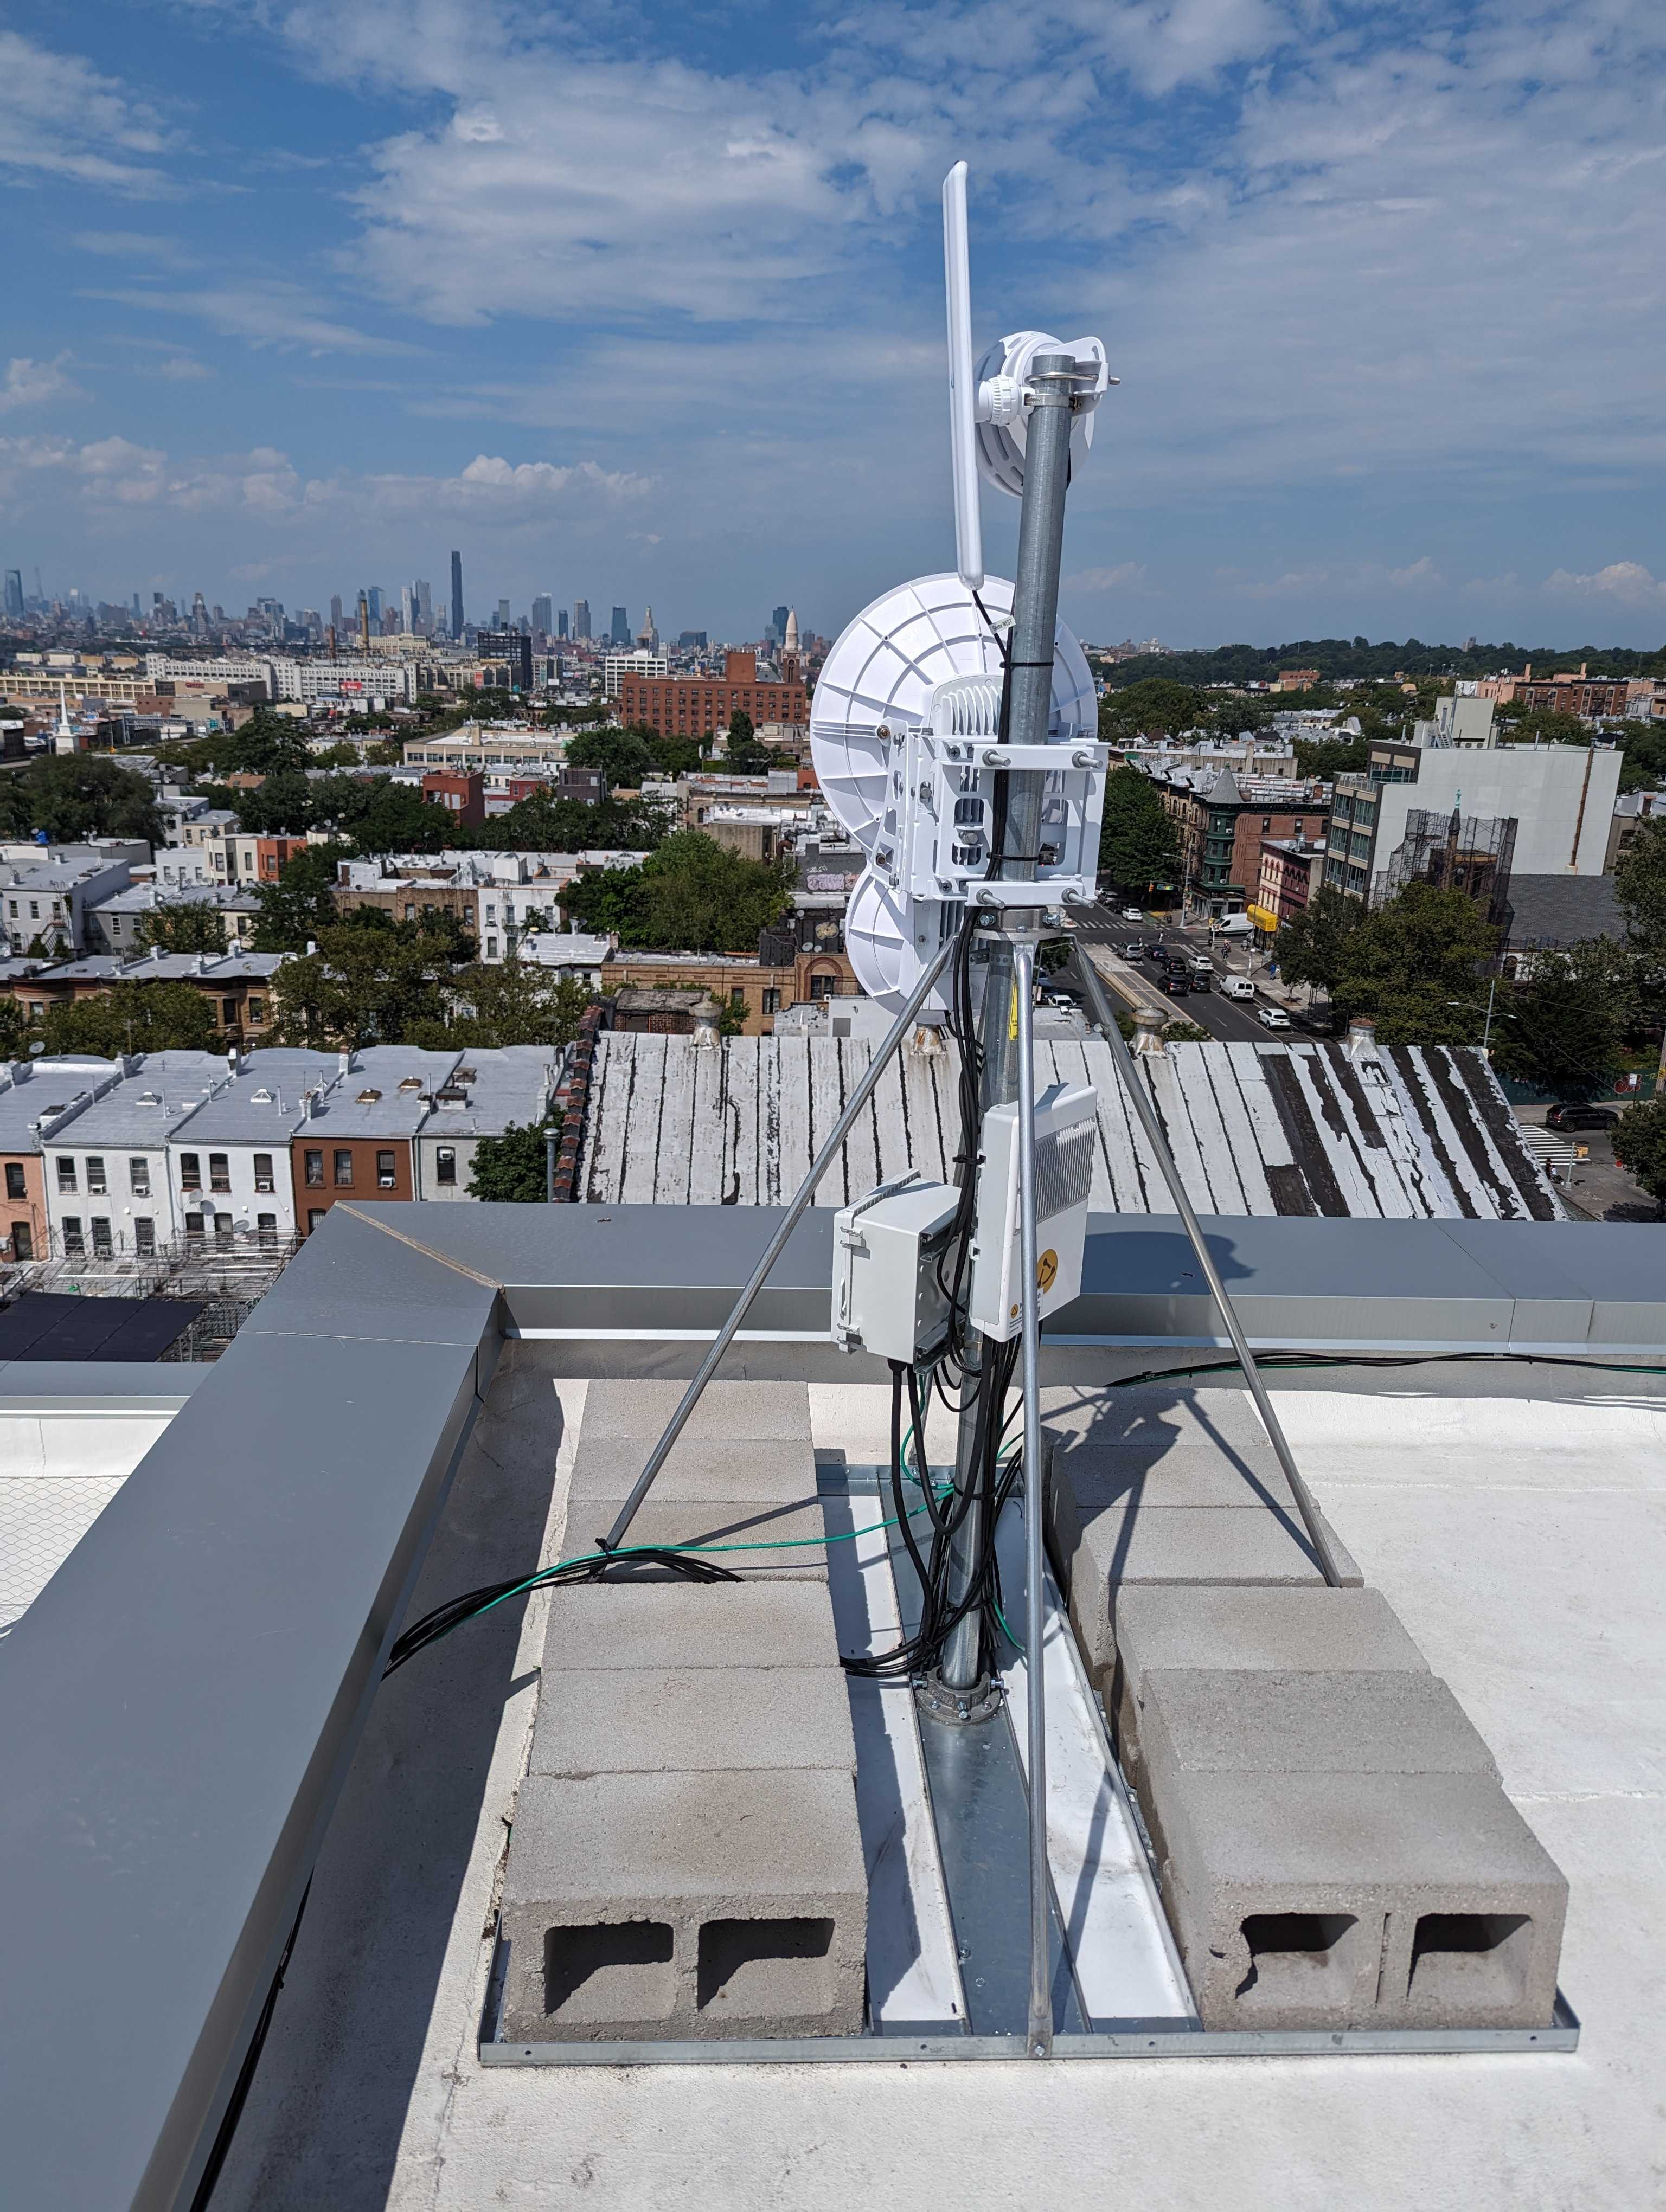
Wade Antenna NPRM-2:
| Model: | NPRM-2 |
| Manufacturer: |
Wade Antenna |
| Link: |
|
| Price: | 233.50$ (TVAntenna.com) 371.00$ (Anixter previous quote/purchase) |
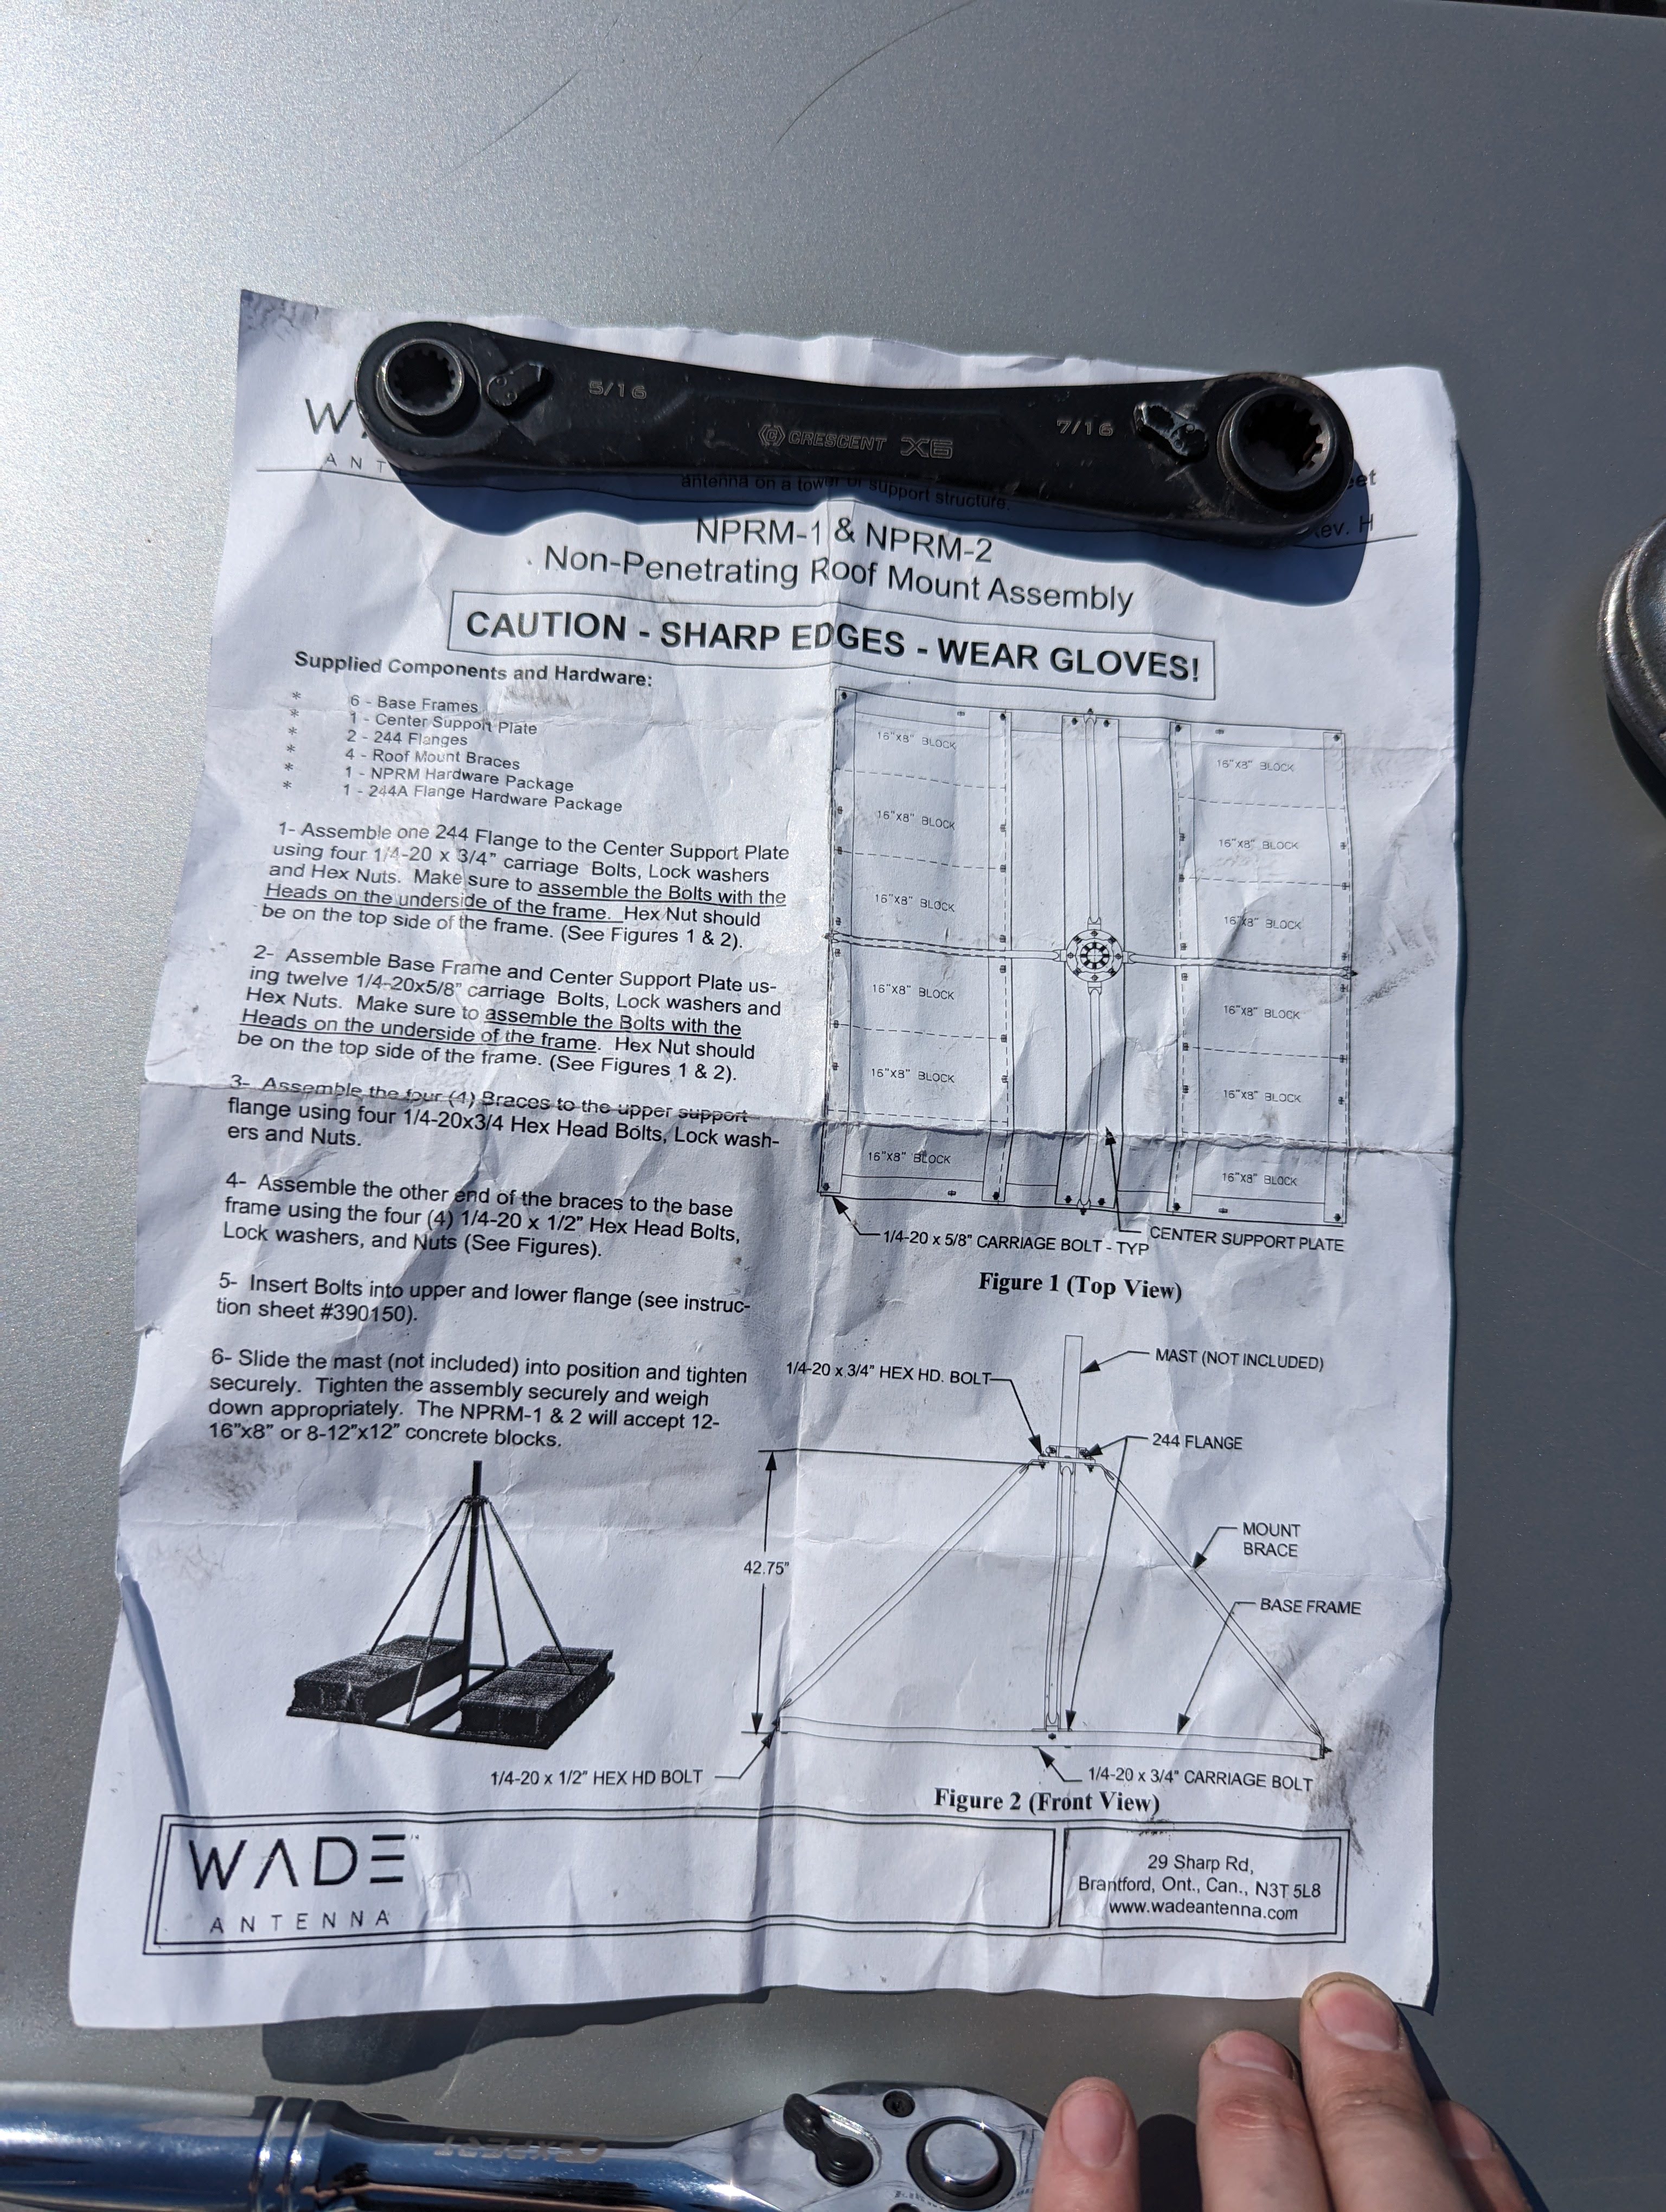
| Assembly Instructions: |
Link |
Made in Canada and there's somewhat limited places to purchase it. Last time we purchased from Anixter, but TVAntenna.com seems to have better prices.
Doesn't include a mast.
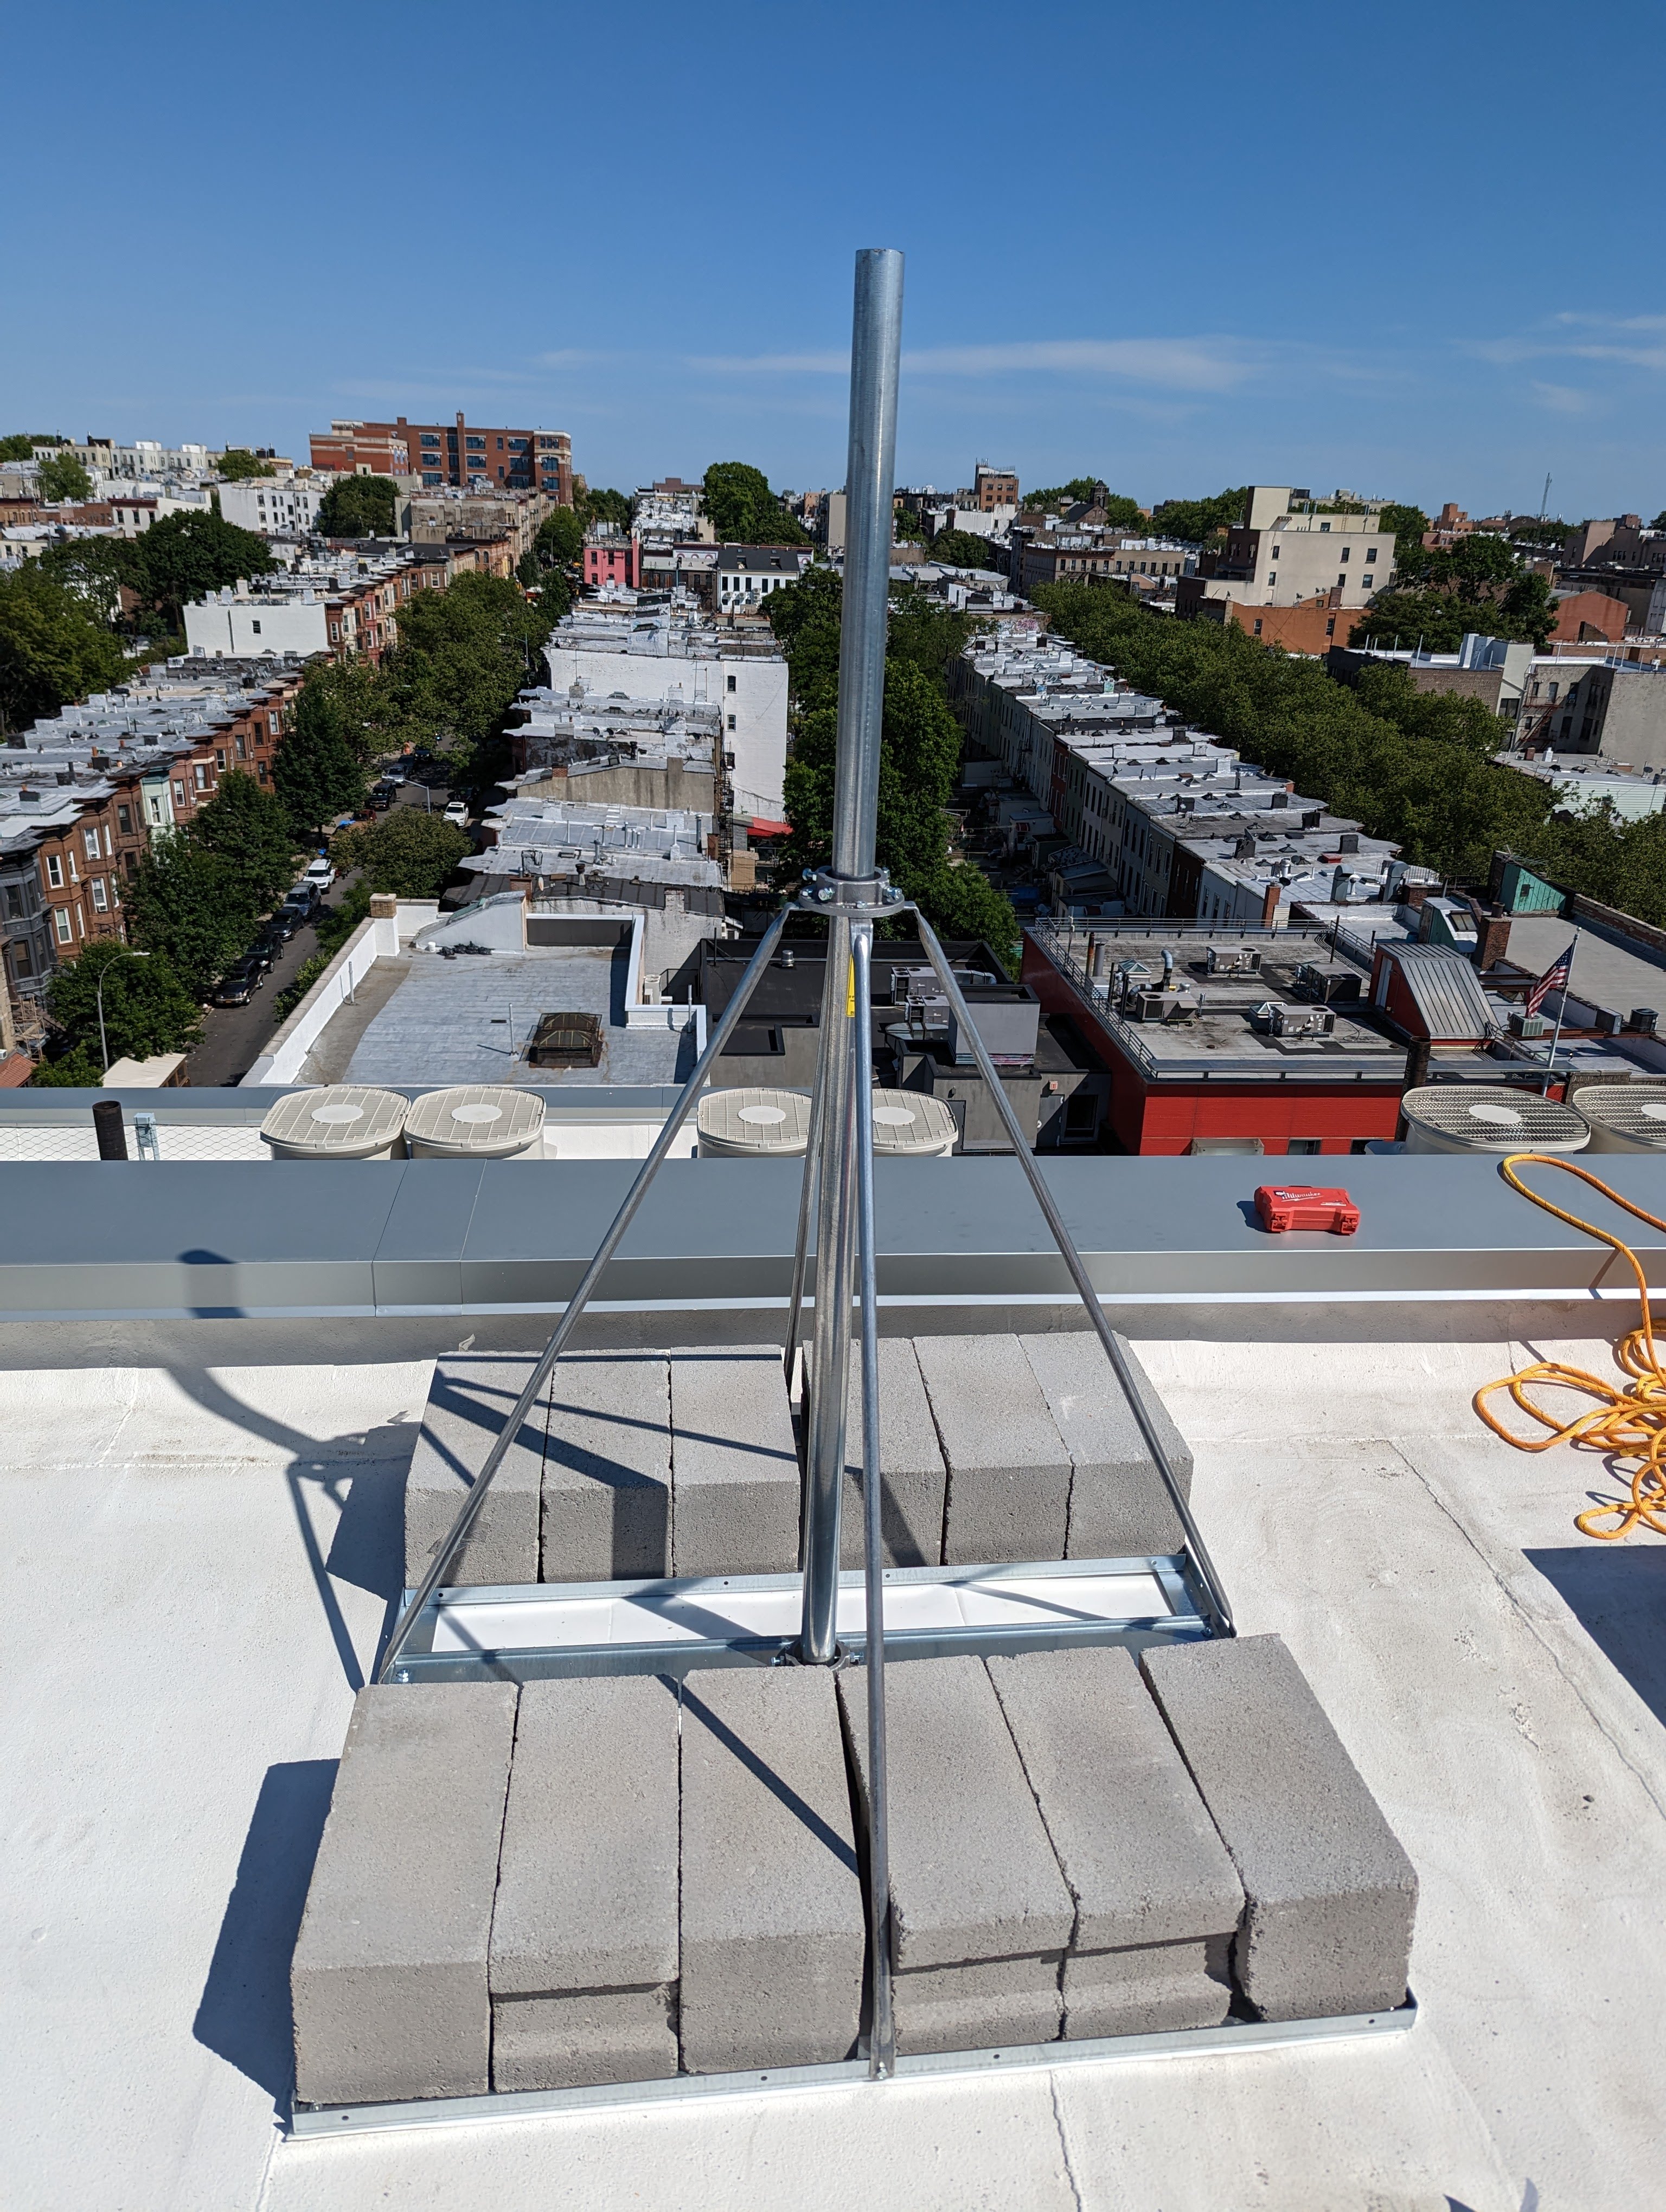
Can hold 12 concrete blocks max without stacking them, 6 per side.
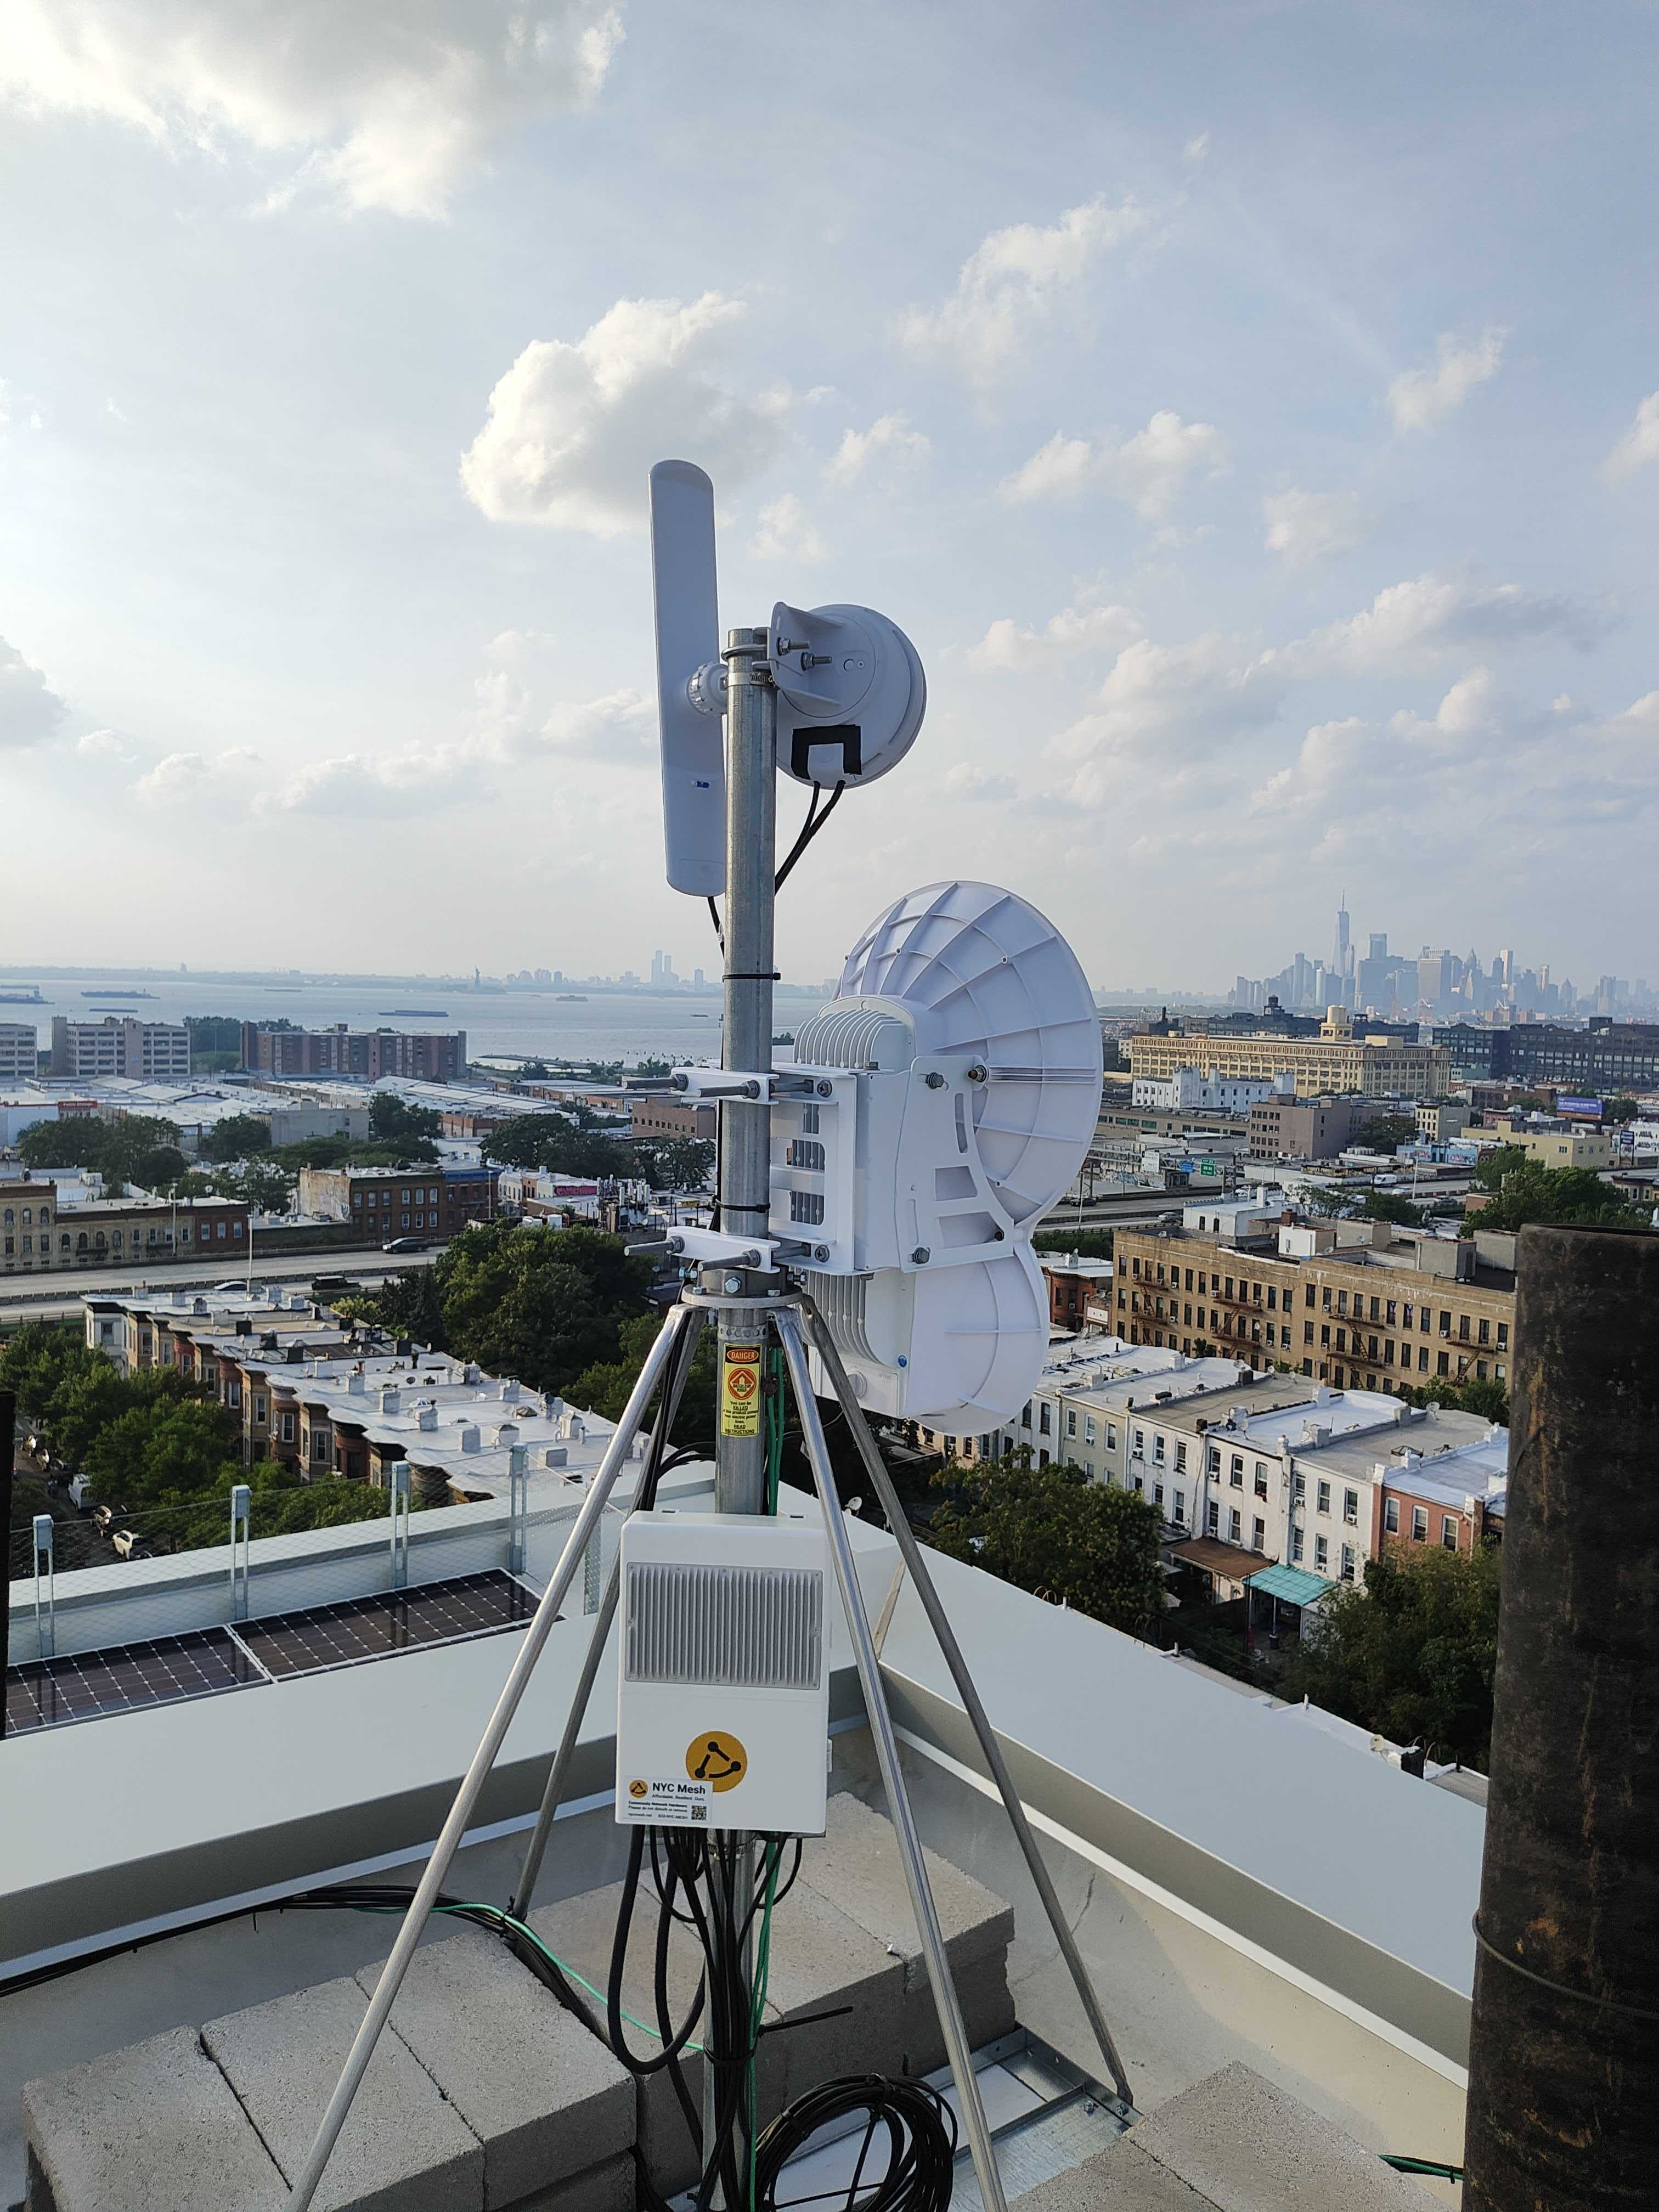
Used this stand to hold a AF24 + Sectors at Sunset Park Library. Would trust this stand for larger antennas, though would still not mount a Siklu or anything that requires precision alignment. It still has some flex and will probably have issues with alignment on super narrow bandwidth antennas.
Also this stand has wind loading charts from the manufacturer, to plan the amount of concrete blocks required.
Has flanges at the top and bottom to hold the mast. Allows angle adjustment/leveling of the mast by adjusting the 4 bolts on each collar. The bottom flange prevents the bottom of the mast from hitting the roof directly. This stand has 4 arms that extend down from the top flange to the 4 corners of the base.
Assembling this stand can be a little tricky. The instructions are pretty good, though it uses 4 different sizes/lengths of bolts, which are not interchangeable. Need to pay close attention to which bolts should be used where. The bolts are somewhat cheap, we managed to shear one of them during the assembly when we wrenched down too tight. The stand comes completely disassembled.
Getting the arms attached to the upper collar and then lined up with the holes in the frame was somewhat difficult. Had to bend the arms a little bit to get stuff to align as the factory bends were not exactly right. (somehow...)
There is a rubber map (additional 19.50$) which protects the roof under the stand. It's a little thin, white and could be a bit more beefy but it seems to do the job. Not sure how well it's going to hold on in the weather, will need to check back in a year or so. Could probably just buy a recycled rubber sheet of the right size that would be tougher.
Unistrut mounting

Window Drilling Guide
All of our installs usually require getting a cable from the outside to the inside of a building eventually... Drilling through the window frame or lip is the most common way to do this, as it's much easier than drilling through a thick brick wall.
This guide is intended to share knowledge and help familiarize new installers with the types of windows that are common in NYC buildings, along examples of techniques. Many installers find the idea of drilling holes in someone else's house to be daunting, so following along on installs and seeing how other lead installers do it as well it a great supplement to this guide.
Brooklyn Standard Window (Metal Frame):
We call this the Brooklyn Standard Window as it's very common in the pre/post war brownstones around Brooklyn. It can be identified by the large lip on the bottom inside of the window, they are usually metal and usually black. They also usually open at both the top and bottom.
These windows tend to have a lot of play and big tolerances in the bottom sliding pane, meaning that by drilling through the metal lip at the bottom of the window, you can pass the cable through and the window will generally still close and lock.
The metal lip on the bottom can be drilled from both the inside or outside.
<Insert Photo of Brooklyn Standard Window here>
Below is a variation of the Brooklyn Standard Window (that's also white), this time with a piece of wooden trim on the inside. This trim prevents you from drilling from the inside out, without making a big mess of the trim. The track for this situation is drilling a horizontal hole through the metal lip from the outside in, then meeting it with a hole drilled downwards at an angle through the trim.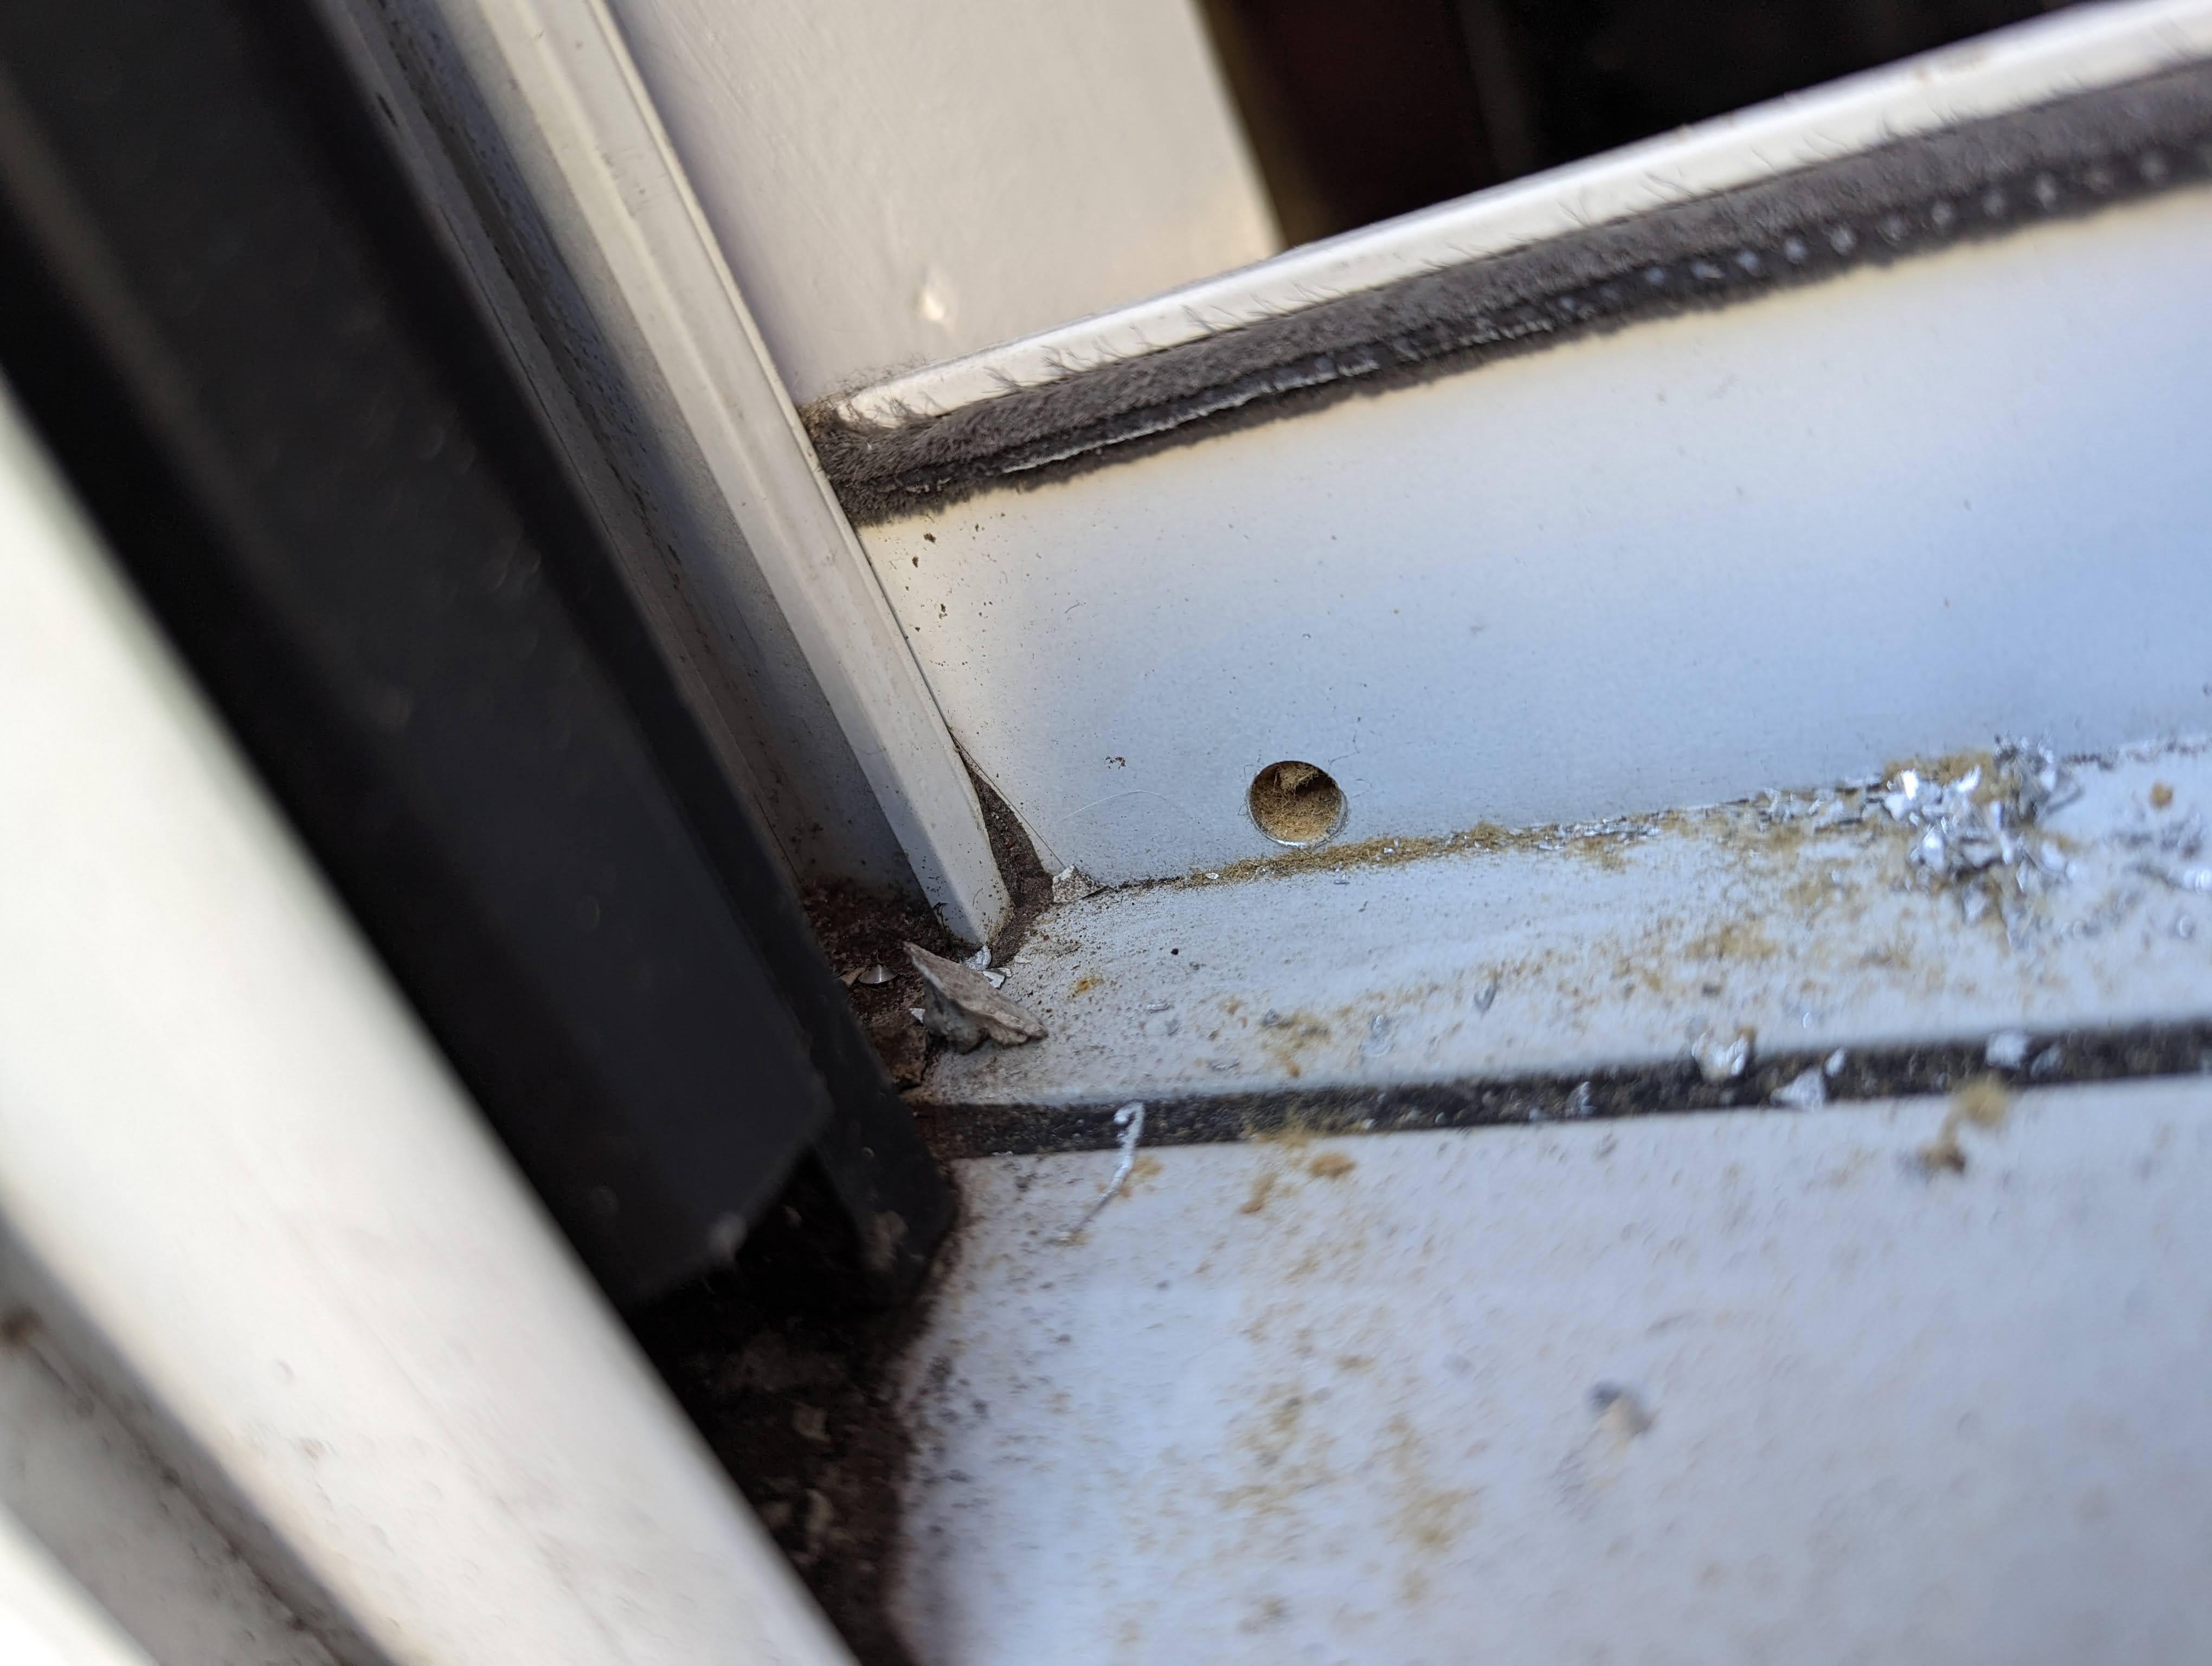
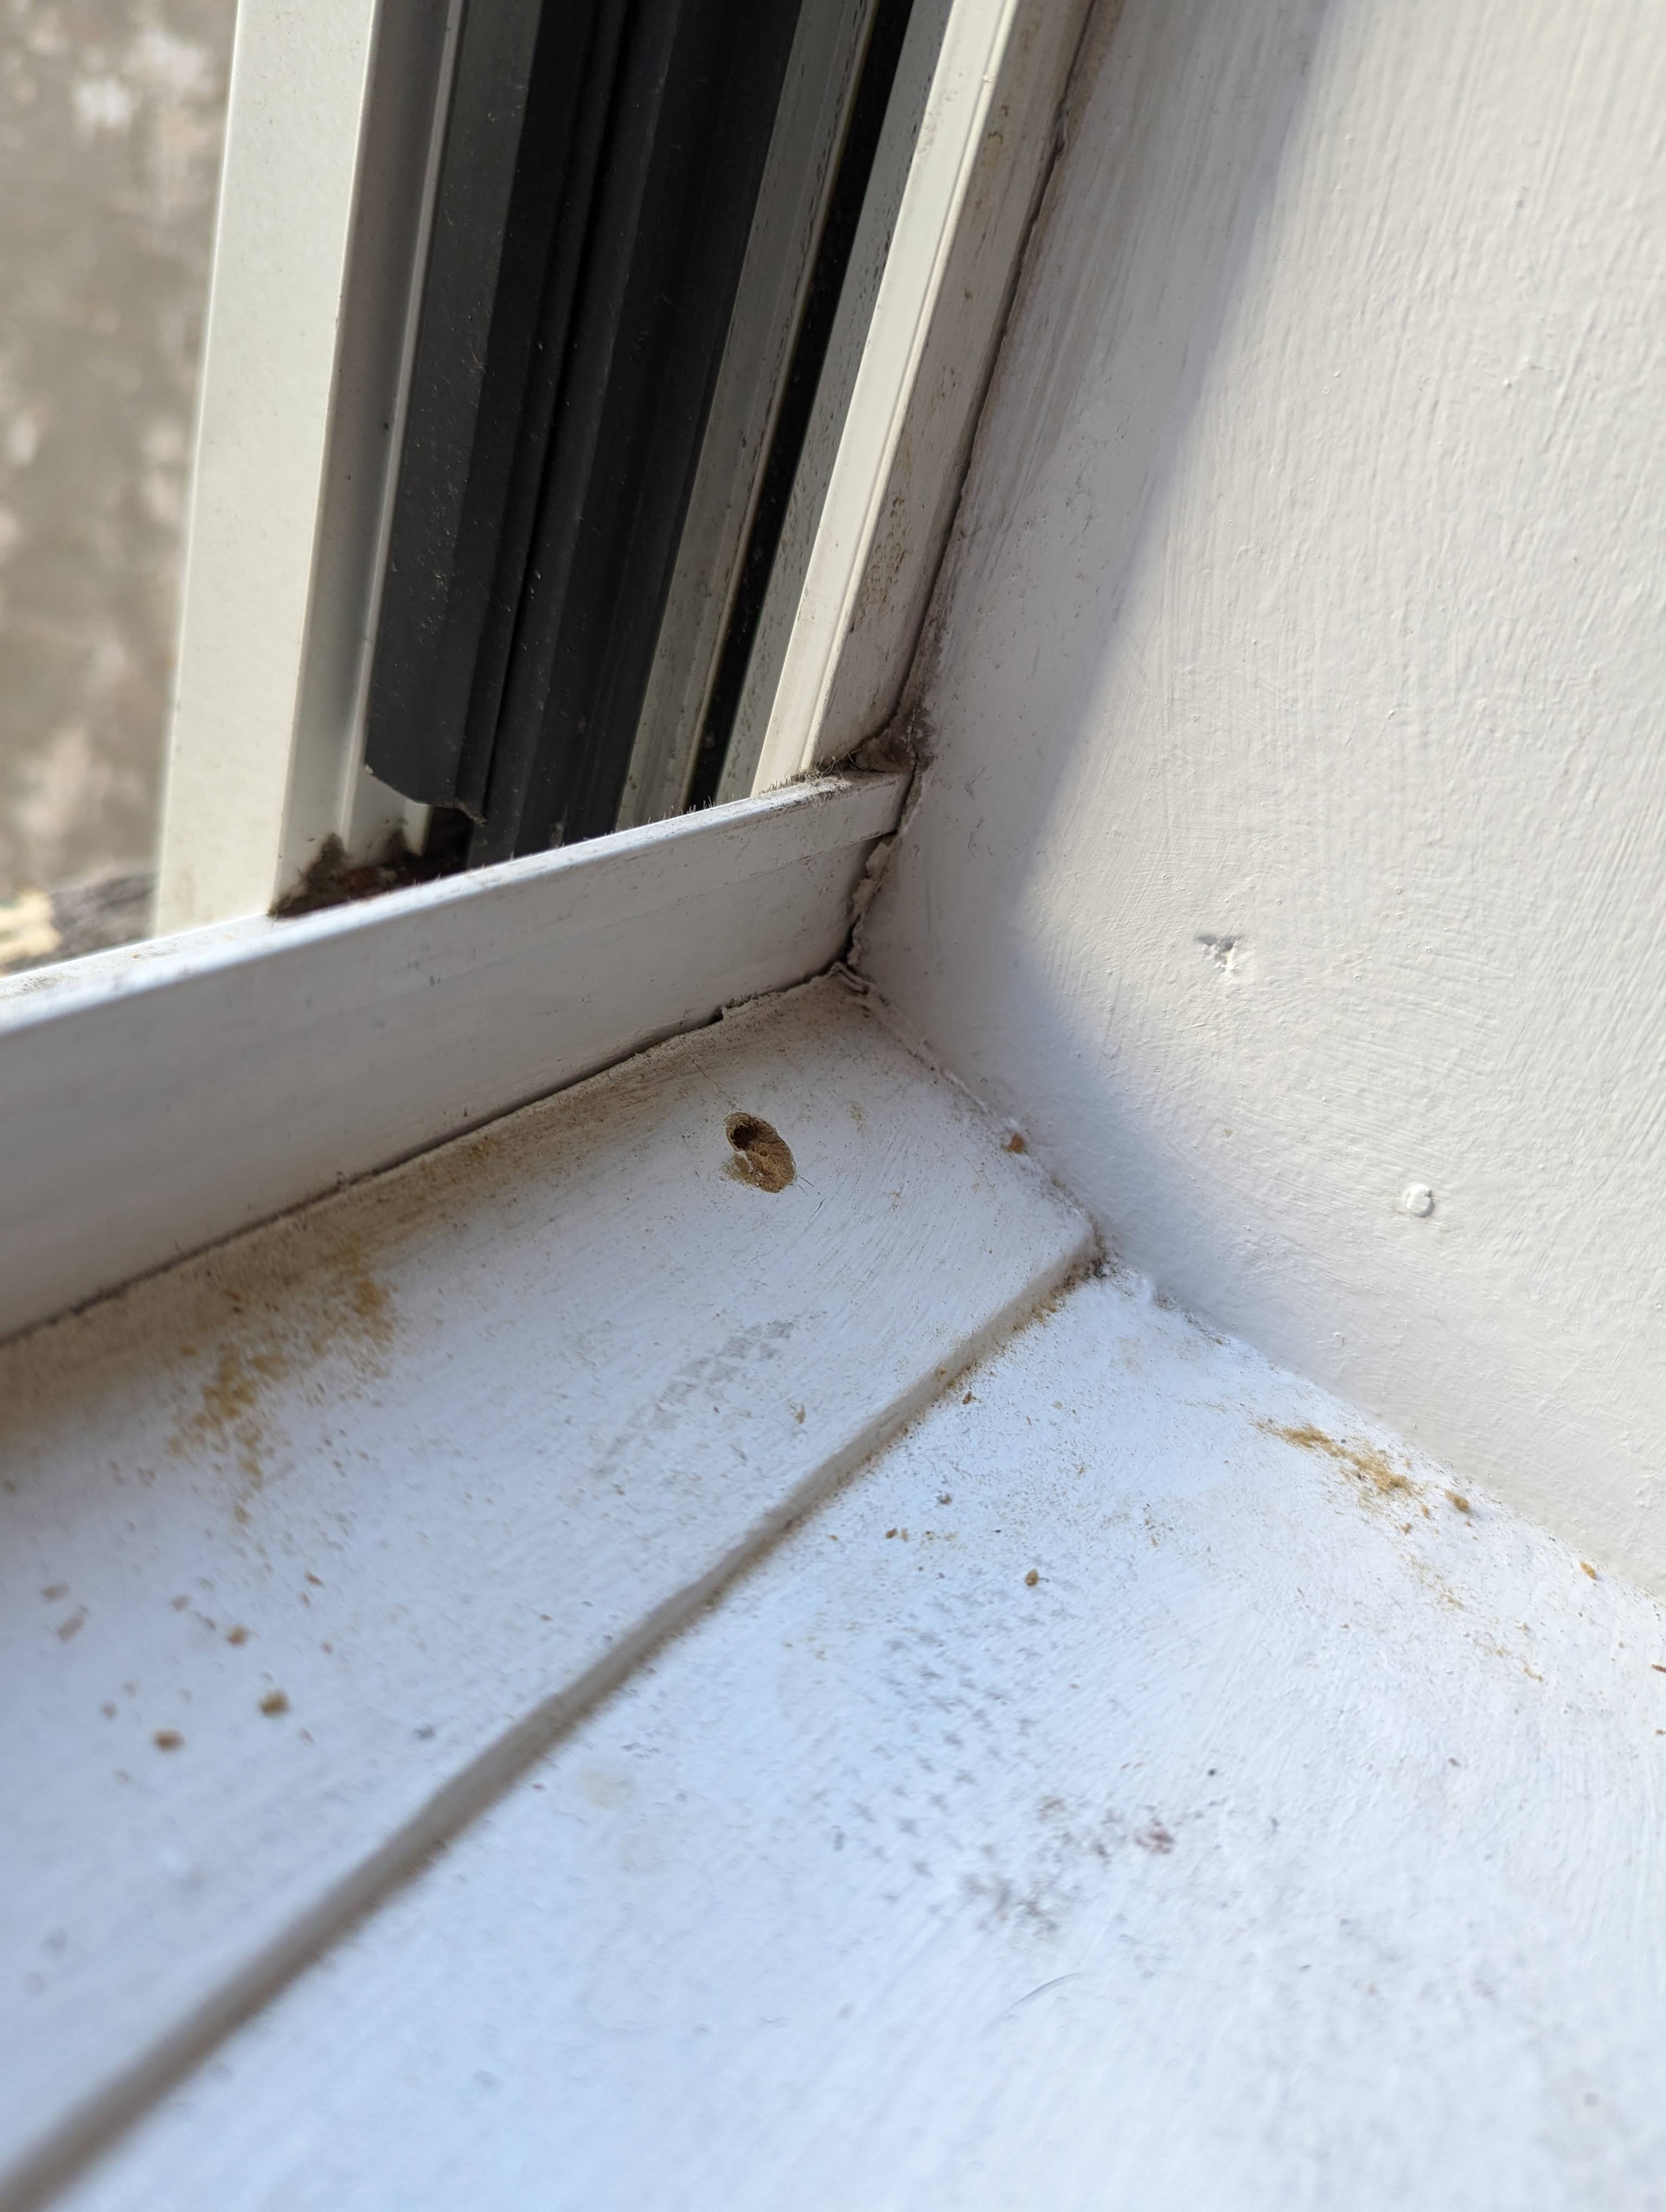
The end result still looks good though, and the hole is drilled low enough in the lip that the window can still close and lock. The holes are caulked shut and the cable is arranged nicely with a cable clip. The member was also informed that they could paint the cable white to match if they wished to do so.
Plastic Frame Windows:
A lot of newer buildings have new plastic framed windows. These windows often have a plastic or wood frame on the inside and sometimes have a metal flashing on the outside. The frames around the sliding pane are also often hollow on both the sides and bottom. (This can be checked by tapping with your hand and listening for a hollow sound)
The plastic frames are easy to drill, so often it's possible to drill the frame around the window, so you don't have to worry about the window closing on the cable. However if you do need to drill the bottom lip you must make sure to drill as low as possible so the cable lies flat on the bottom frame. These windows have much less play to work with, so there's a possibility of it not locking shut once the wire is run though.
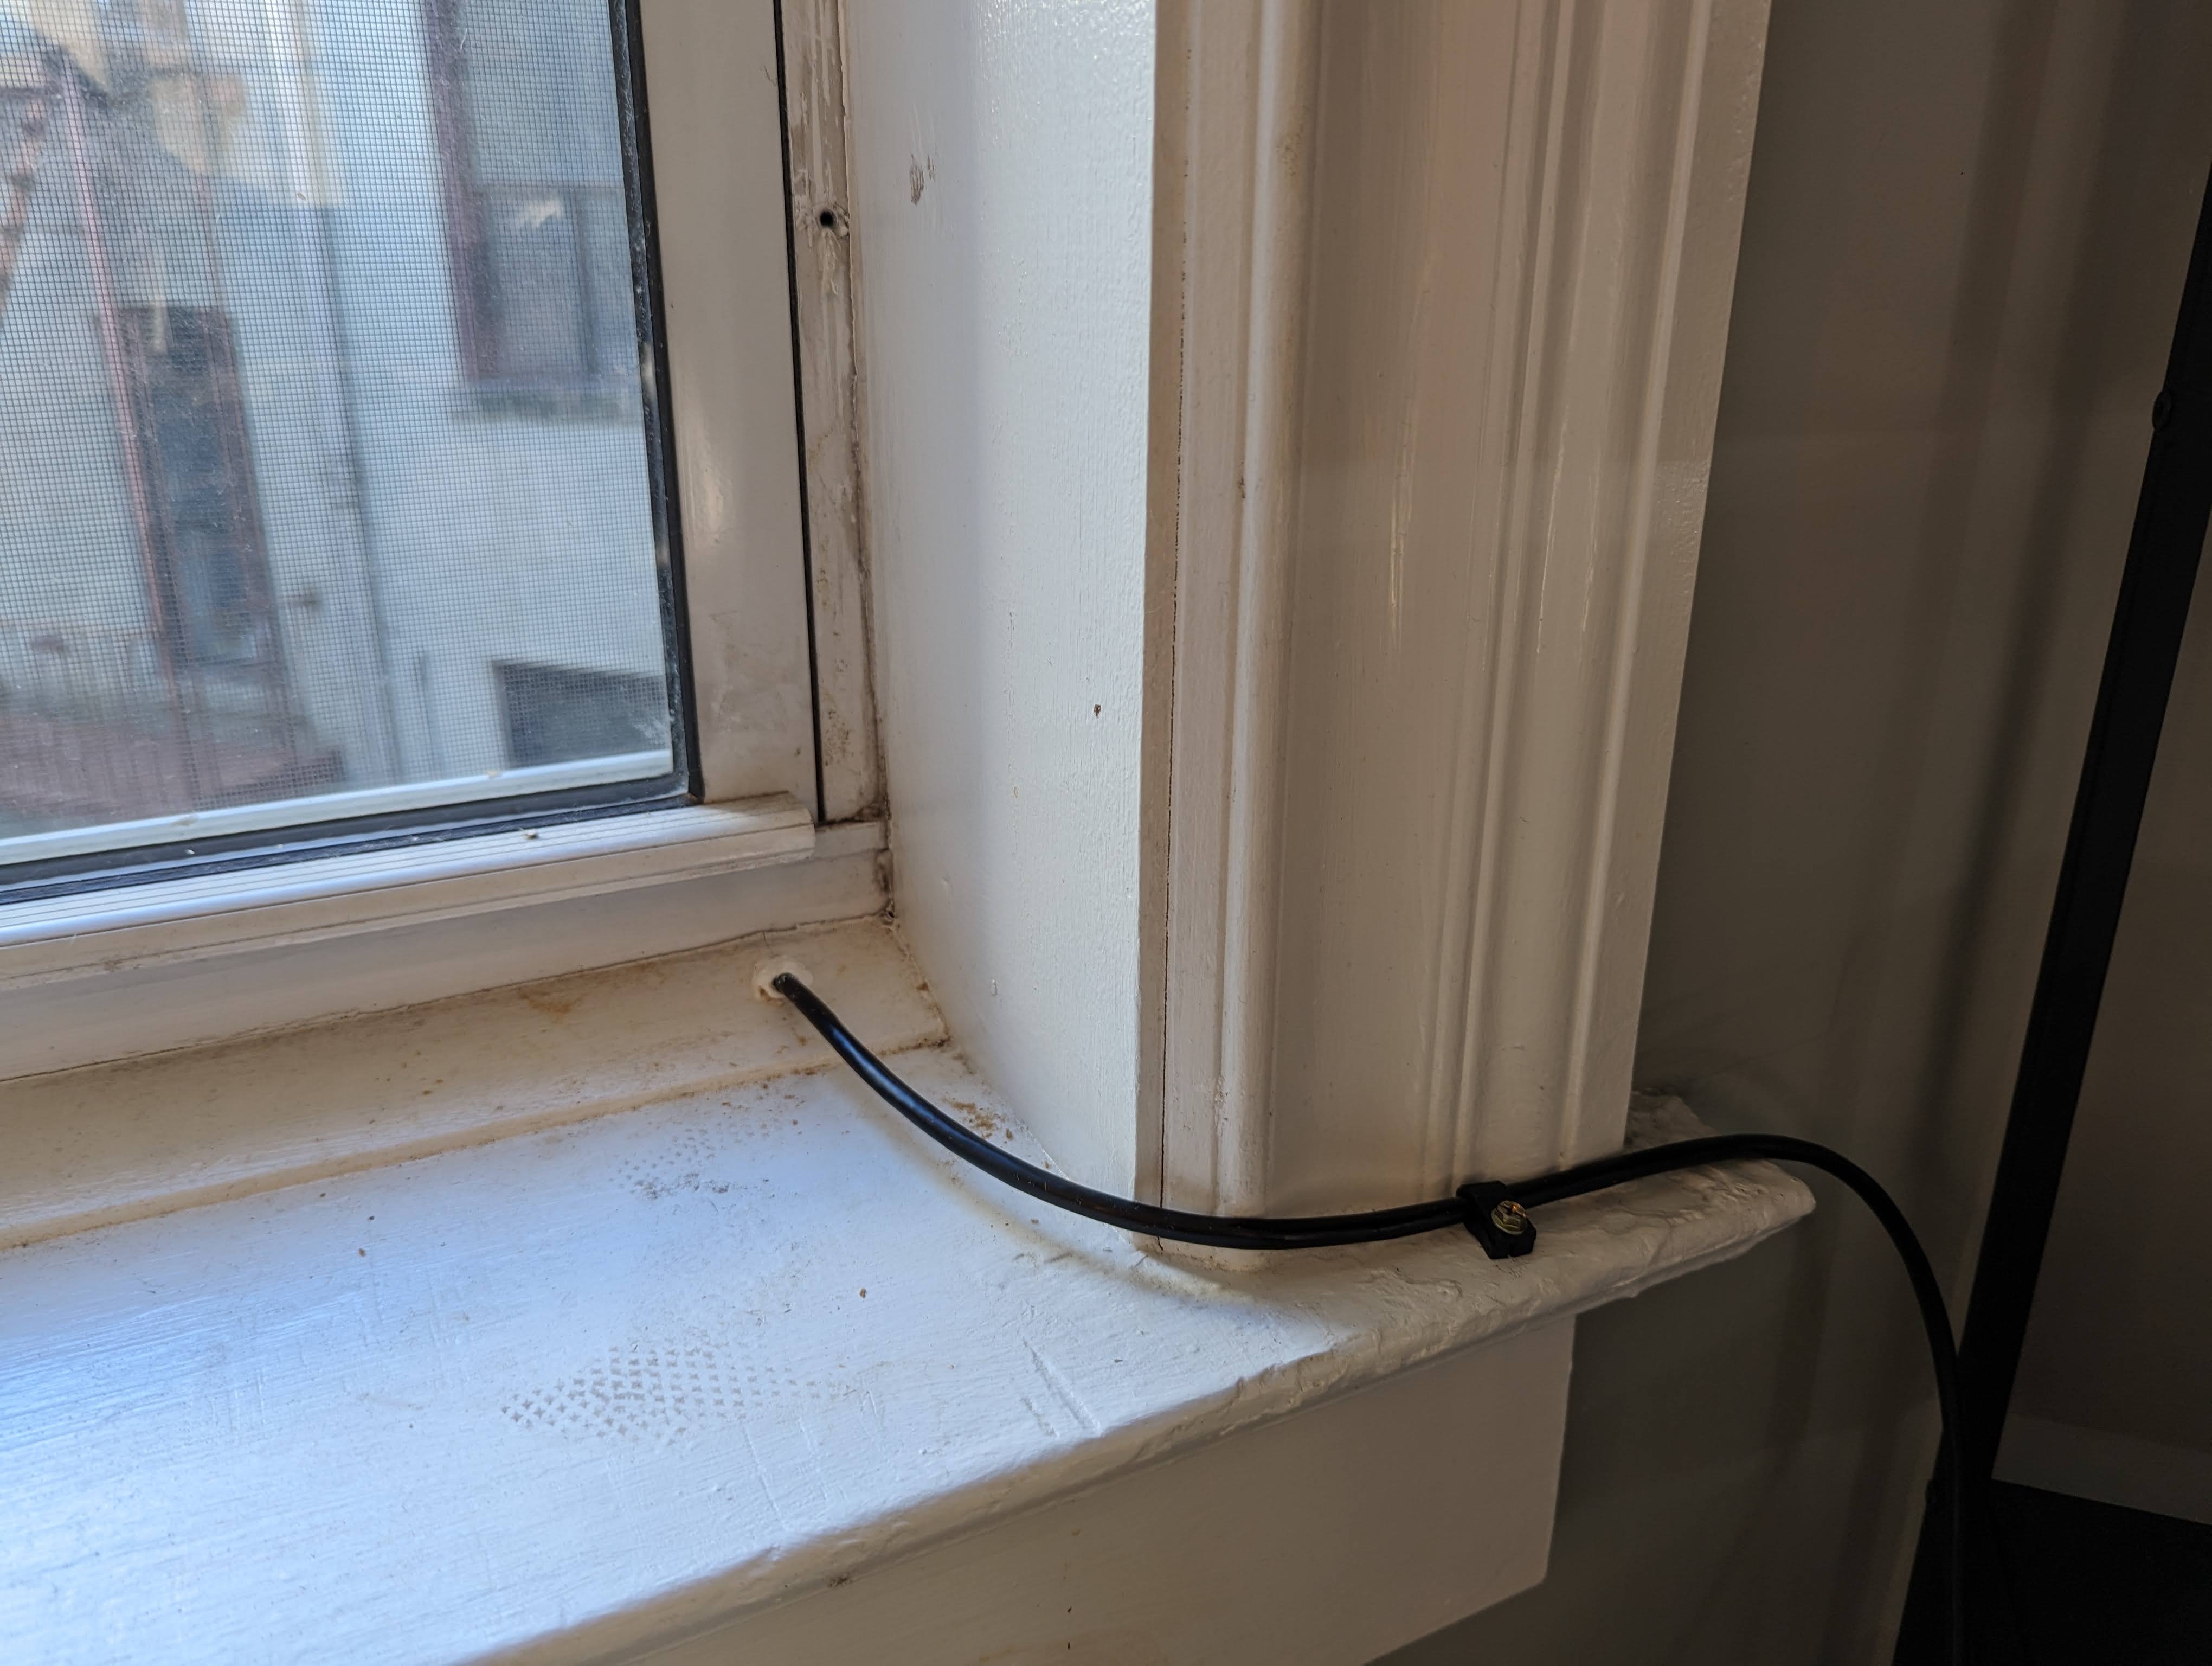
Example of a plastic window with a hollow frame. Was able to drill through the bottom frame of the window which is hollow inside.
Drilling straight through will the inside hole as low as possible on the bottom frame of the window.
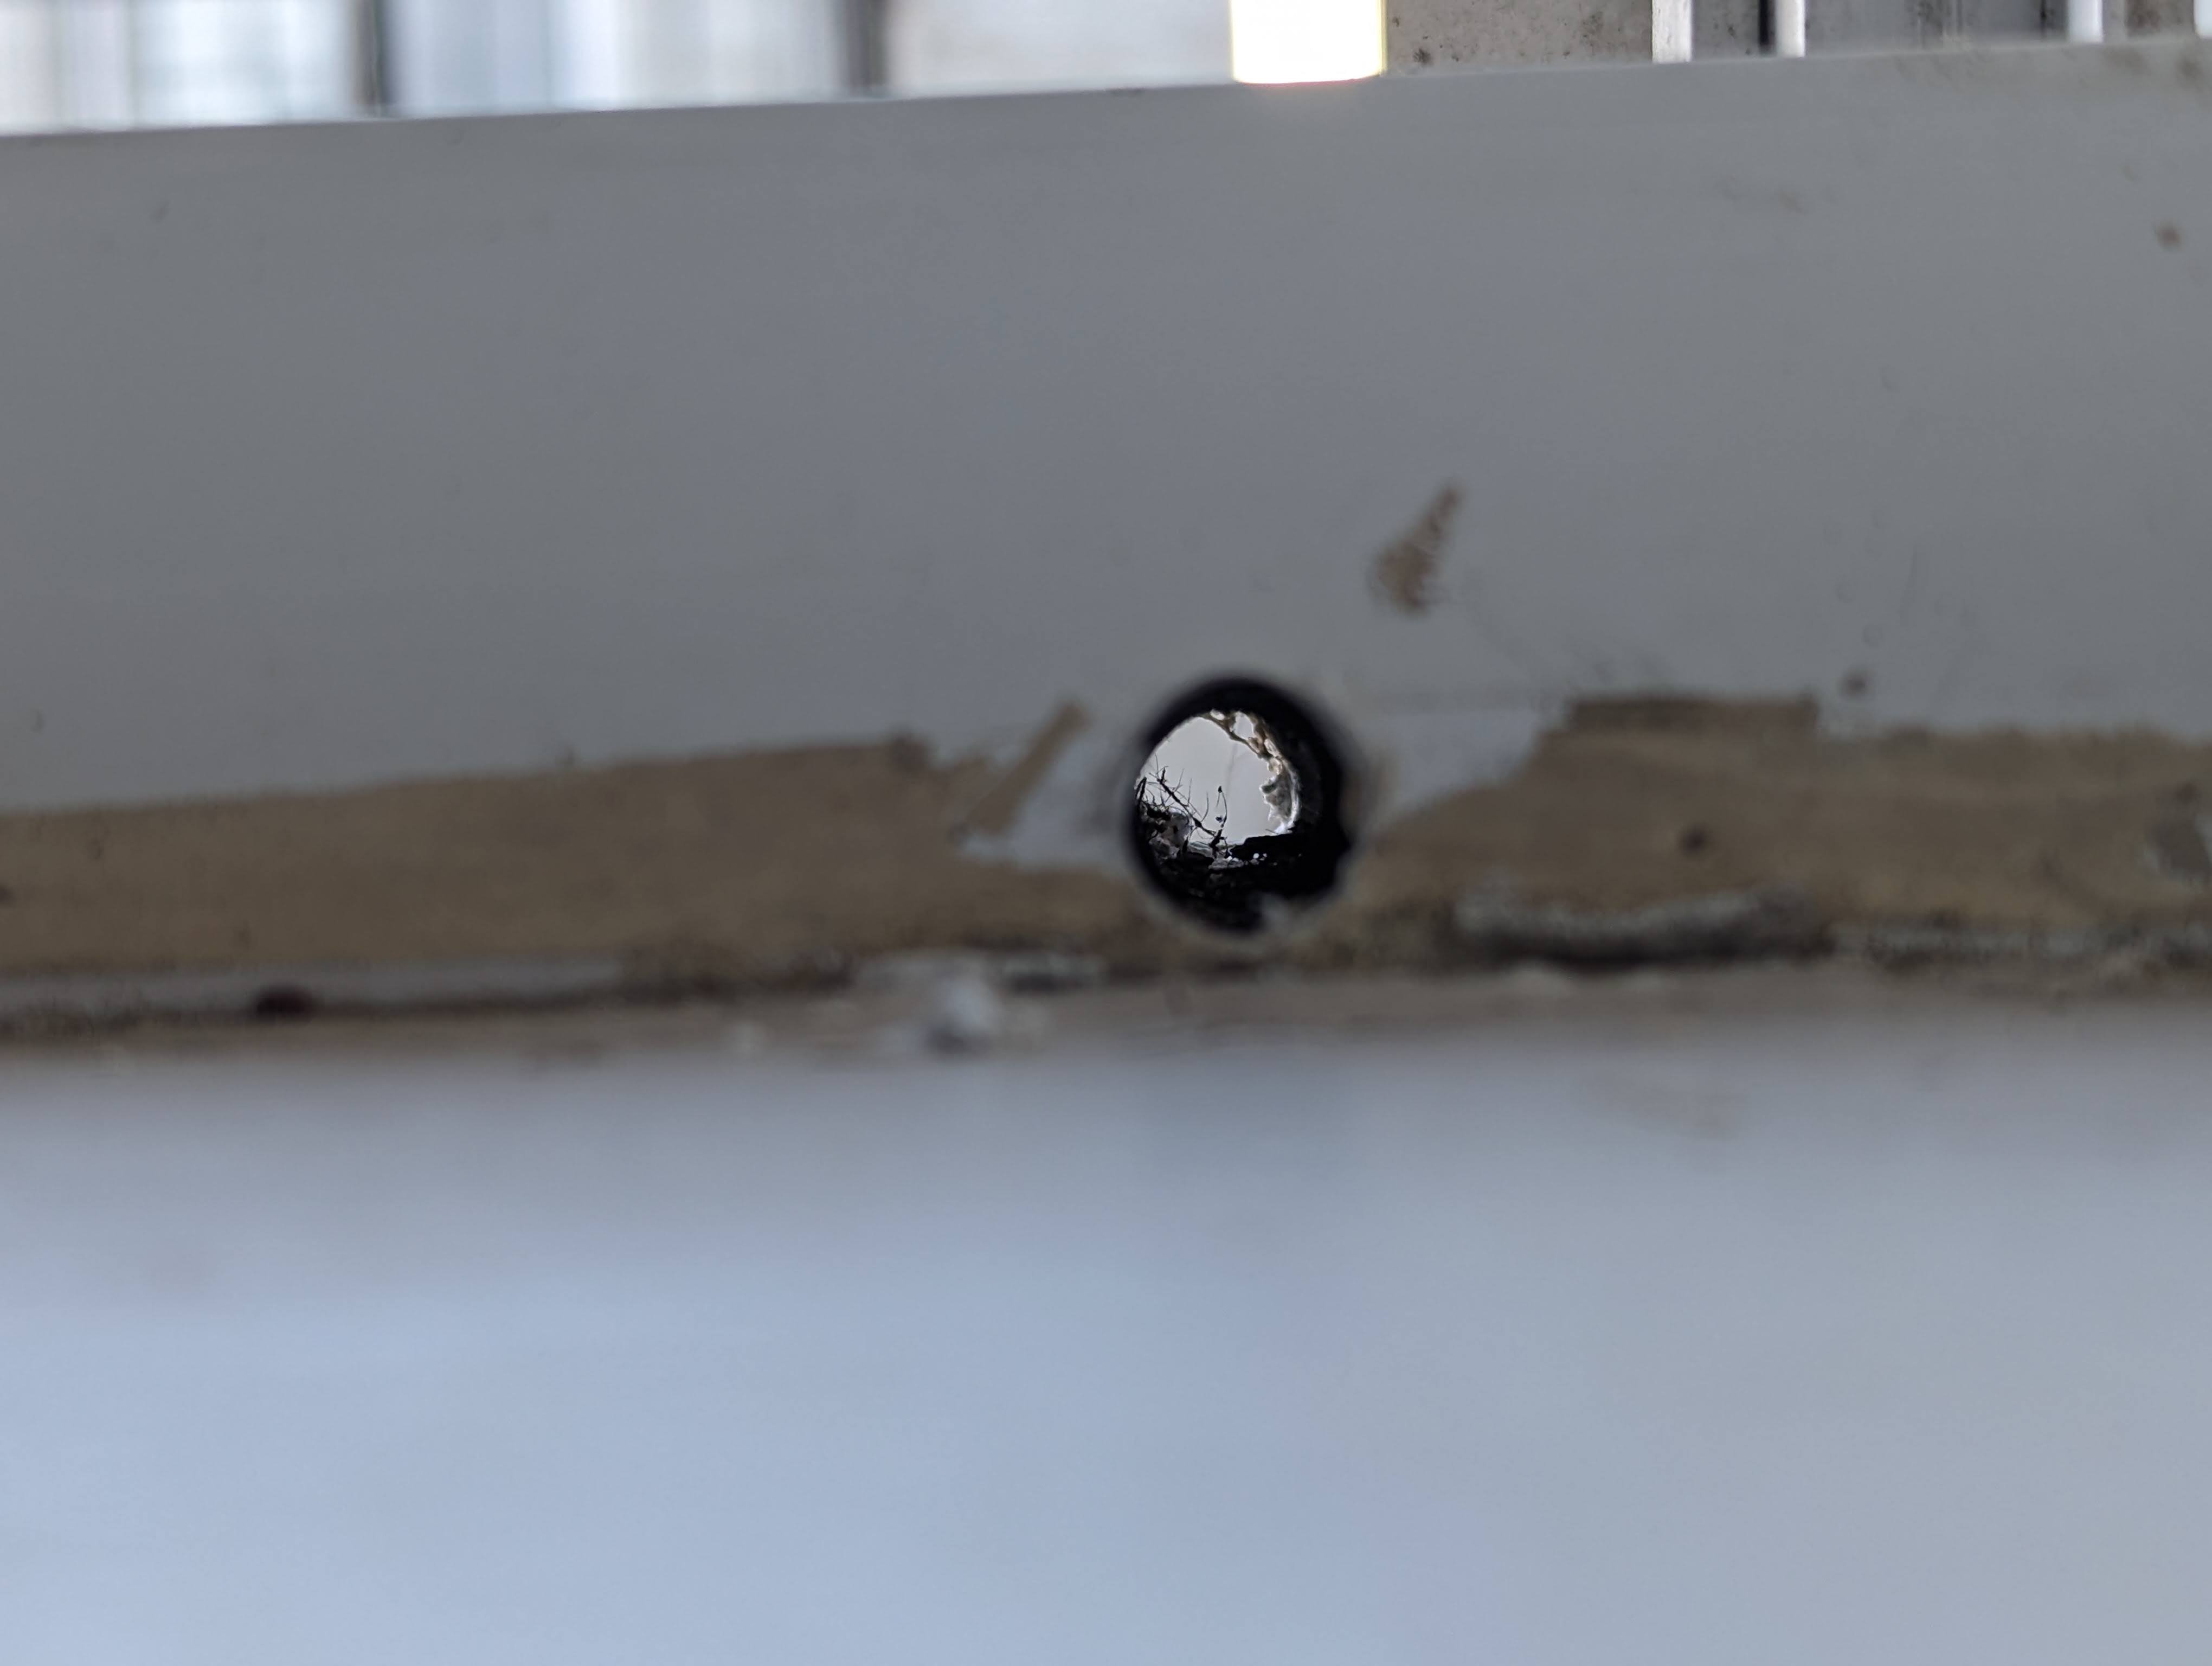
Drill bit existed through existing drainage hole on the outside of the frame, so a bit messy outside hole. Can be sealed with caulk, but as it's an existing (and intentional) drainage hole, it's not necessary. Caulk the inside hole around the cable to prevent cold drafts getting in.
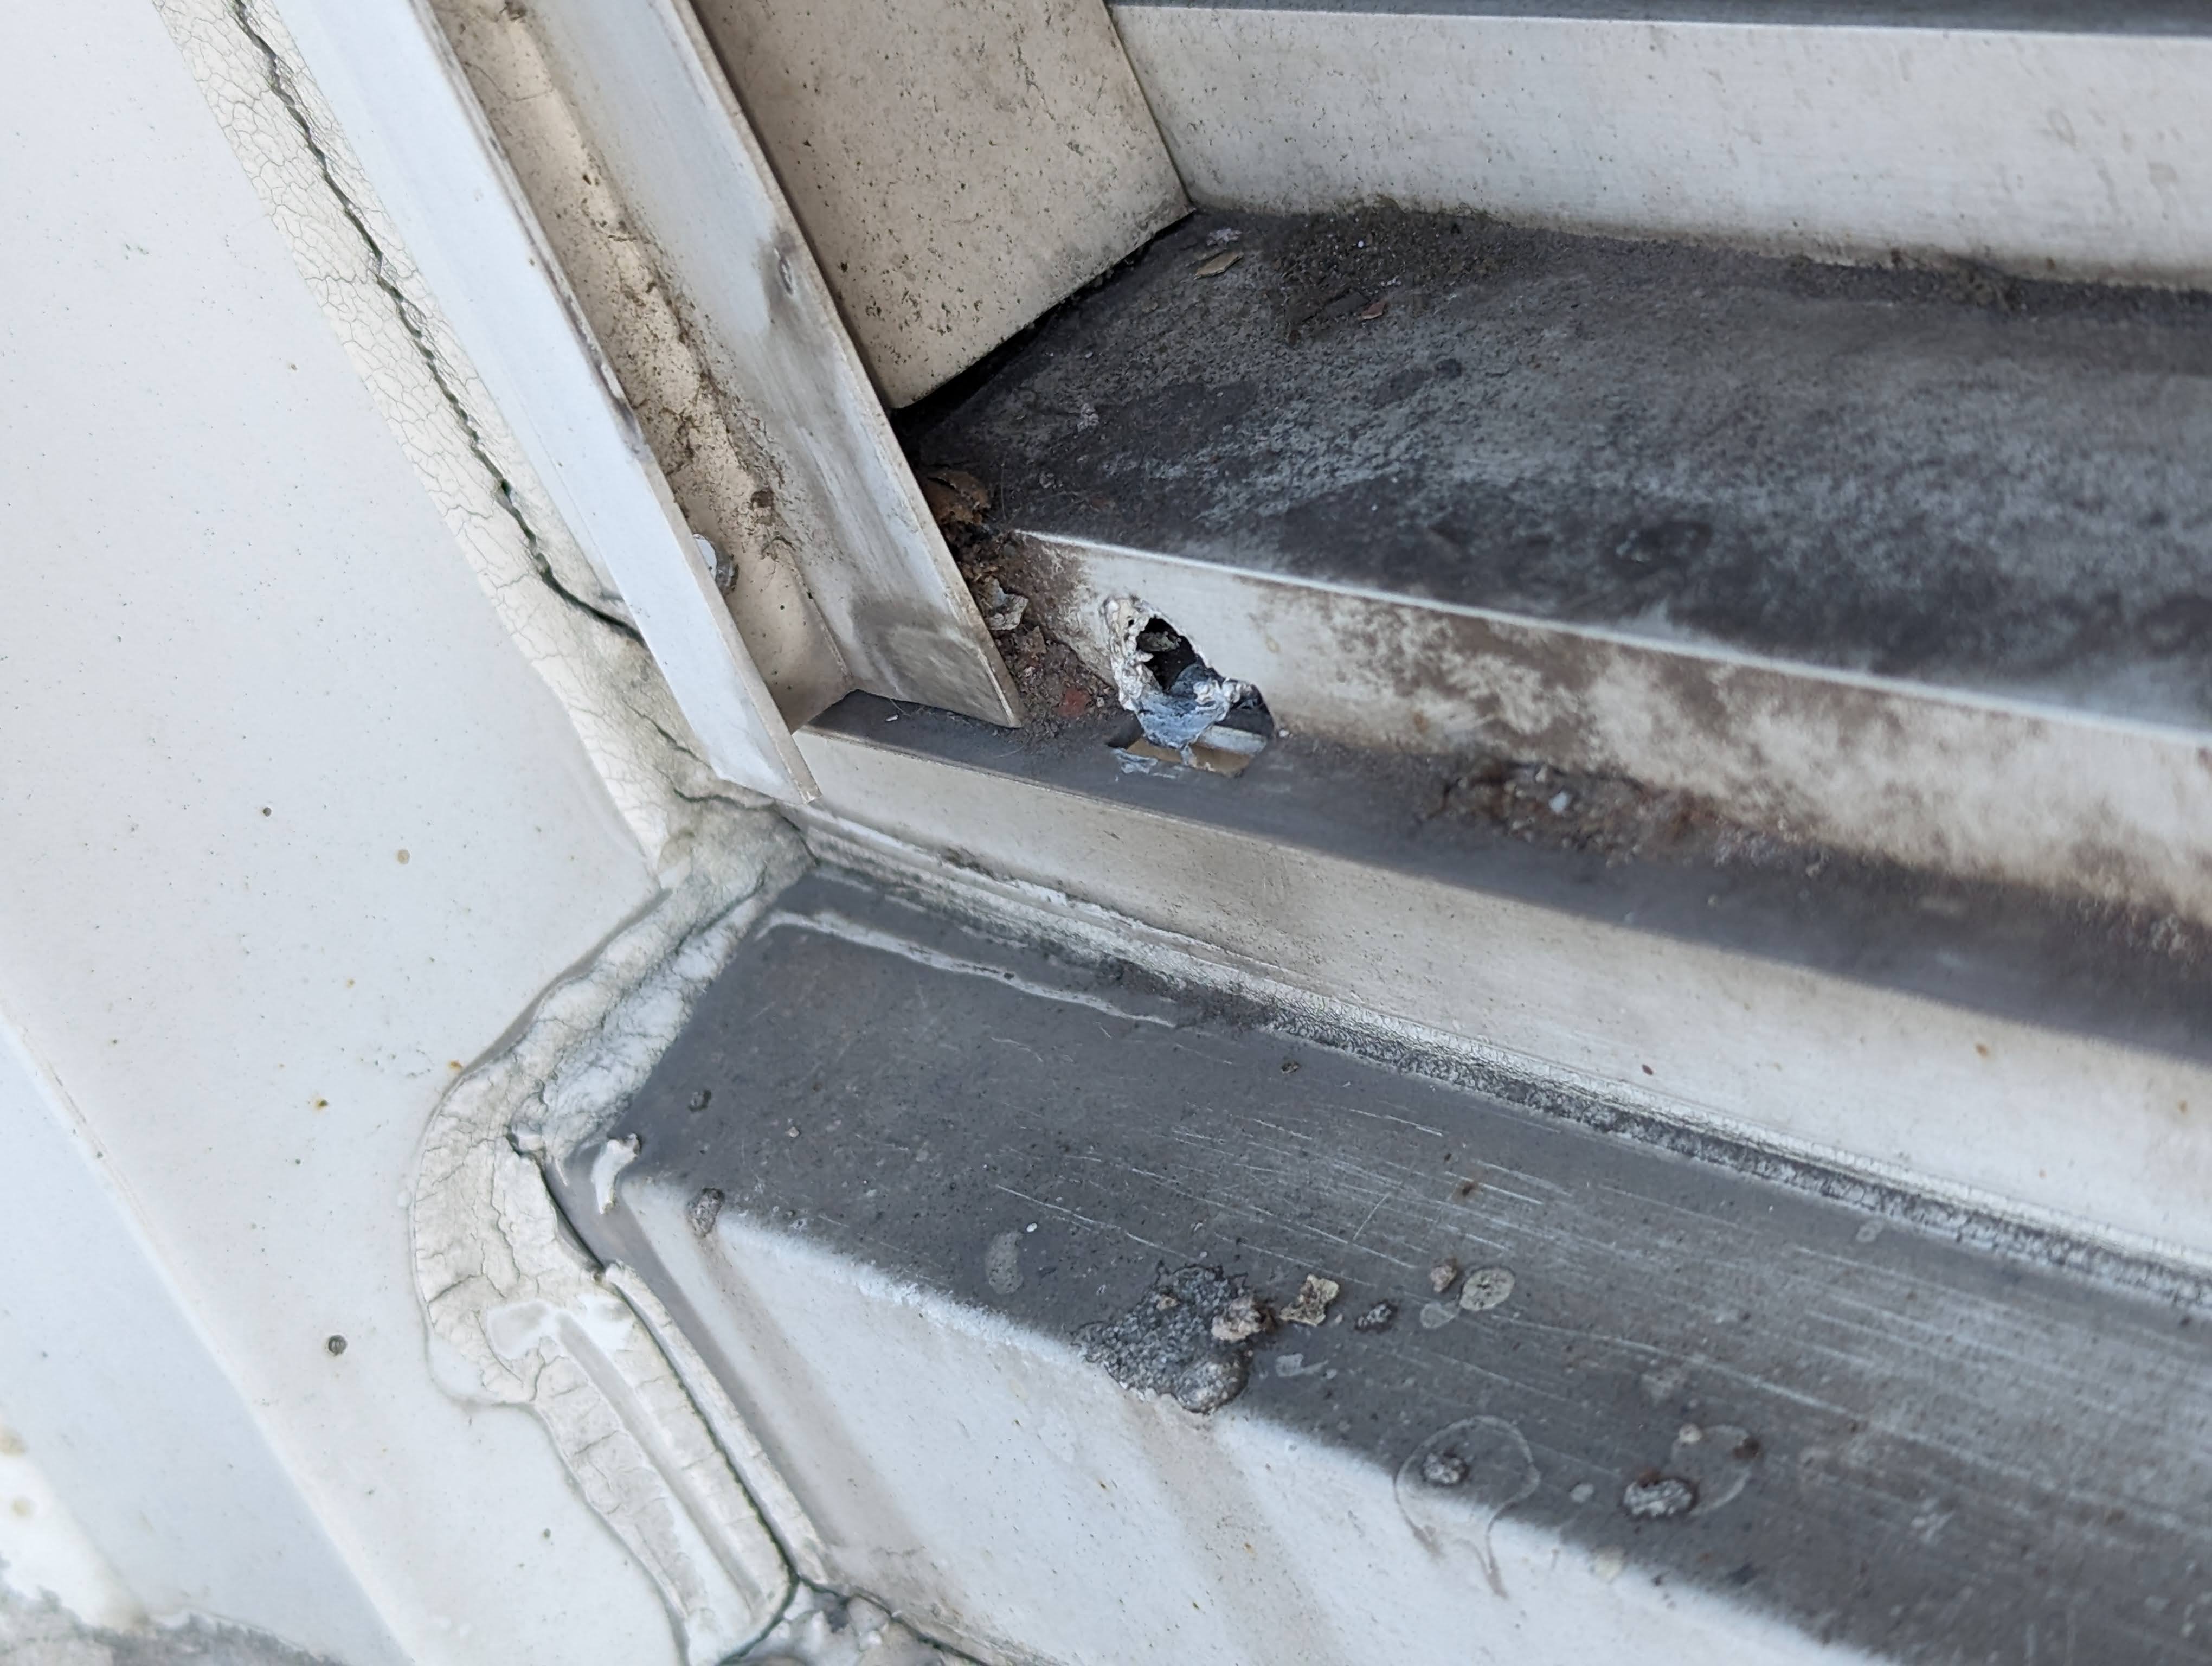
<Insert photos of hole drilled through the side frame of a plastic window>
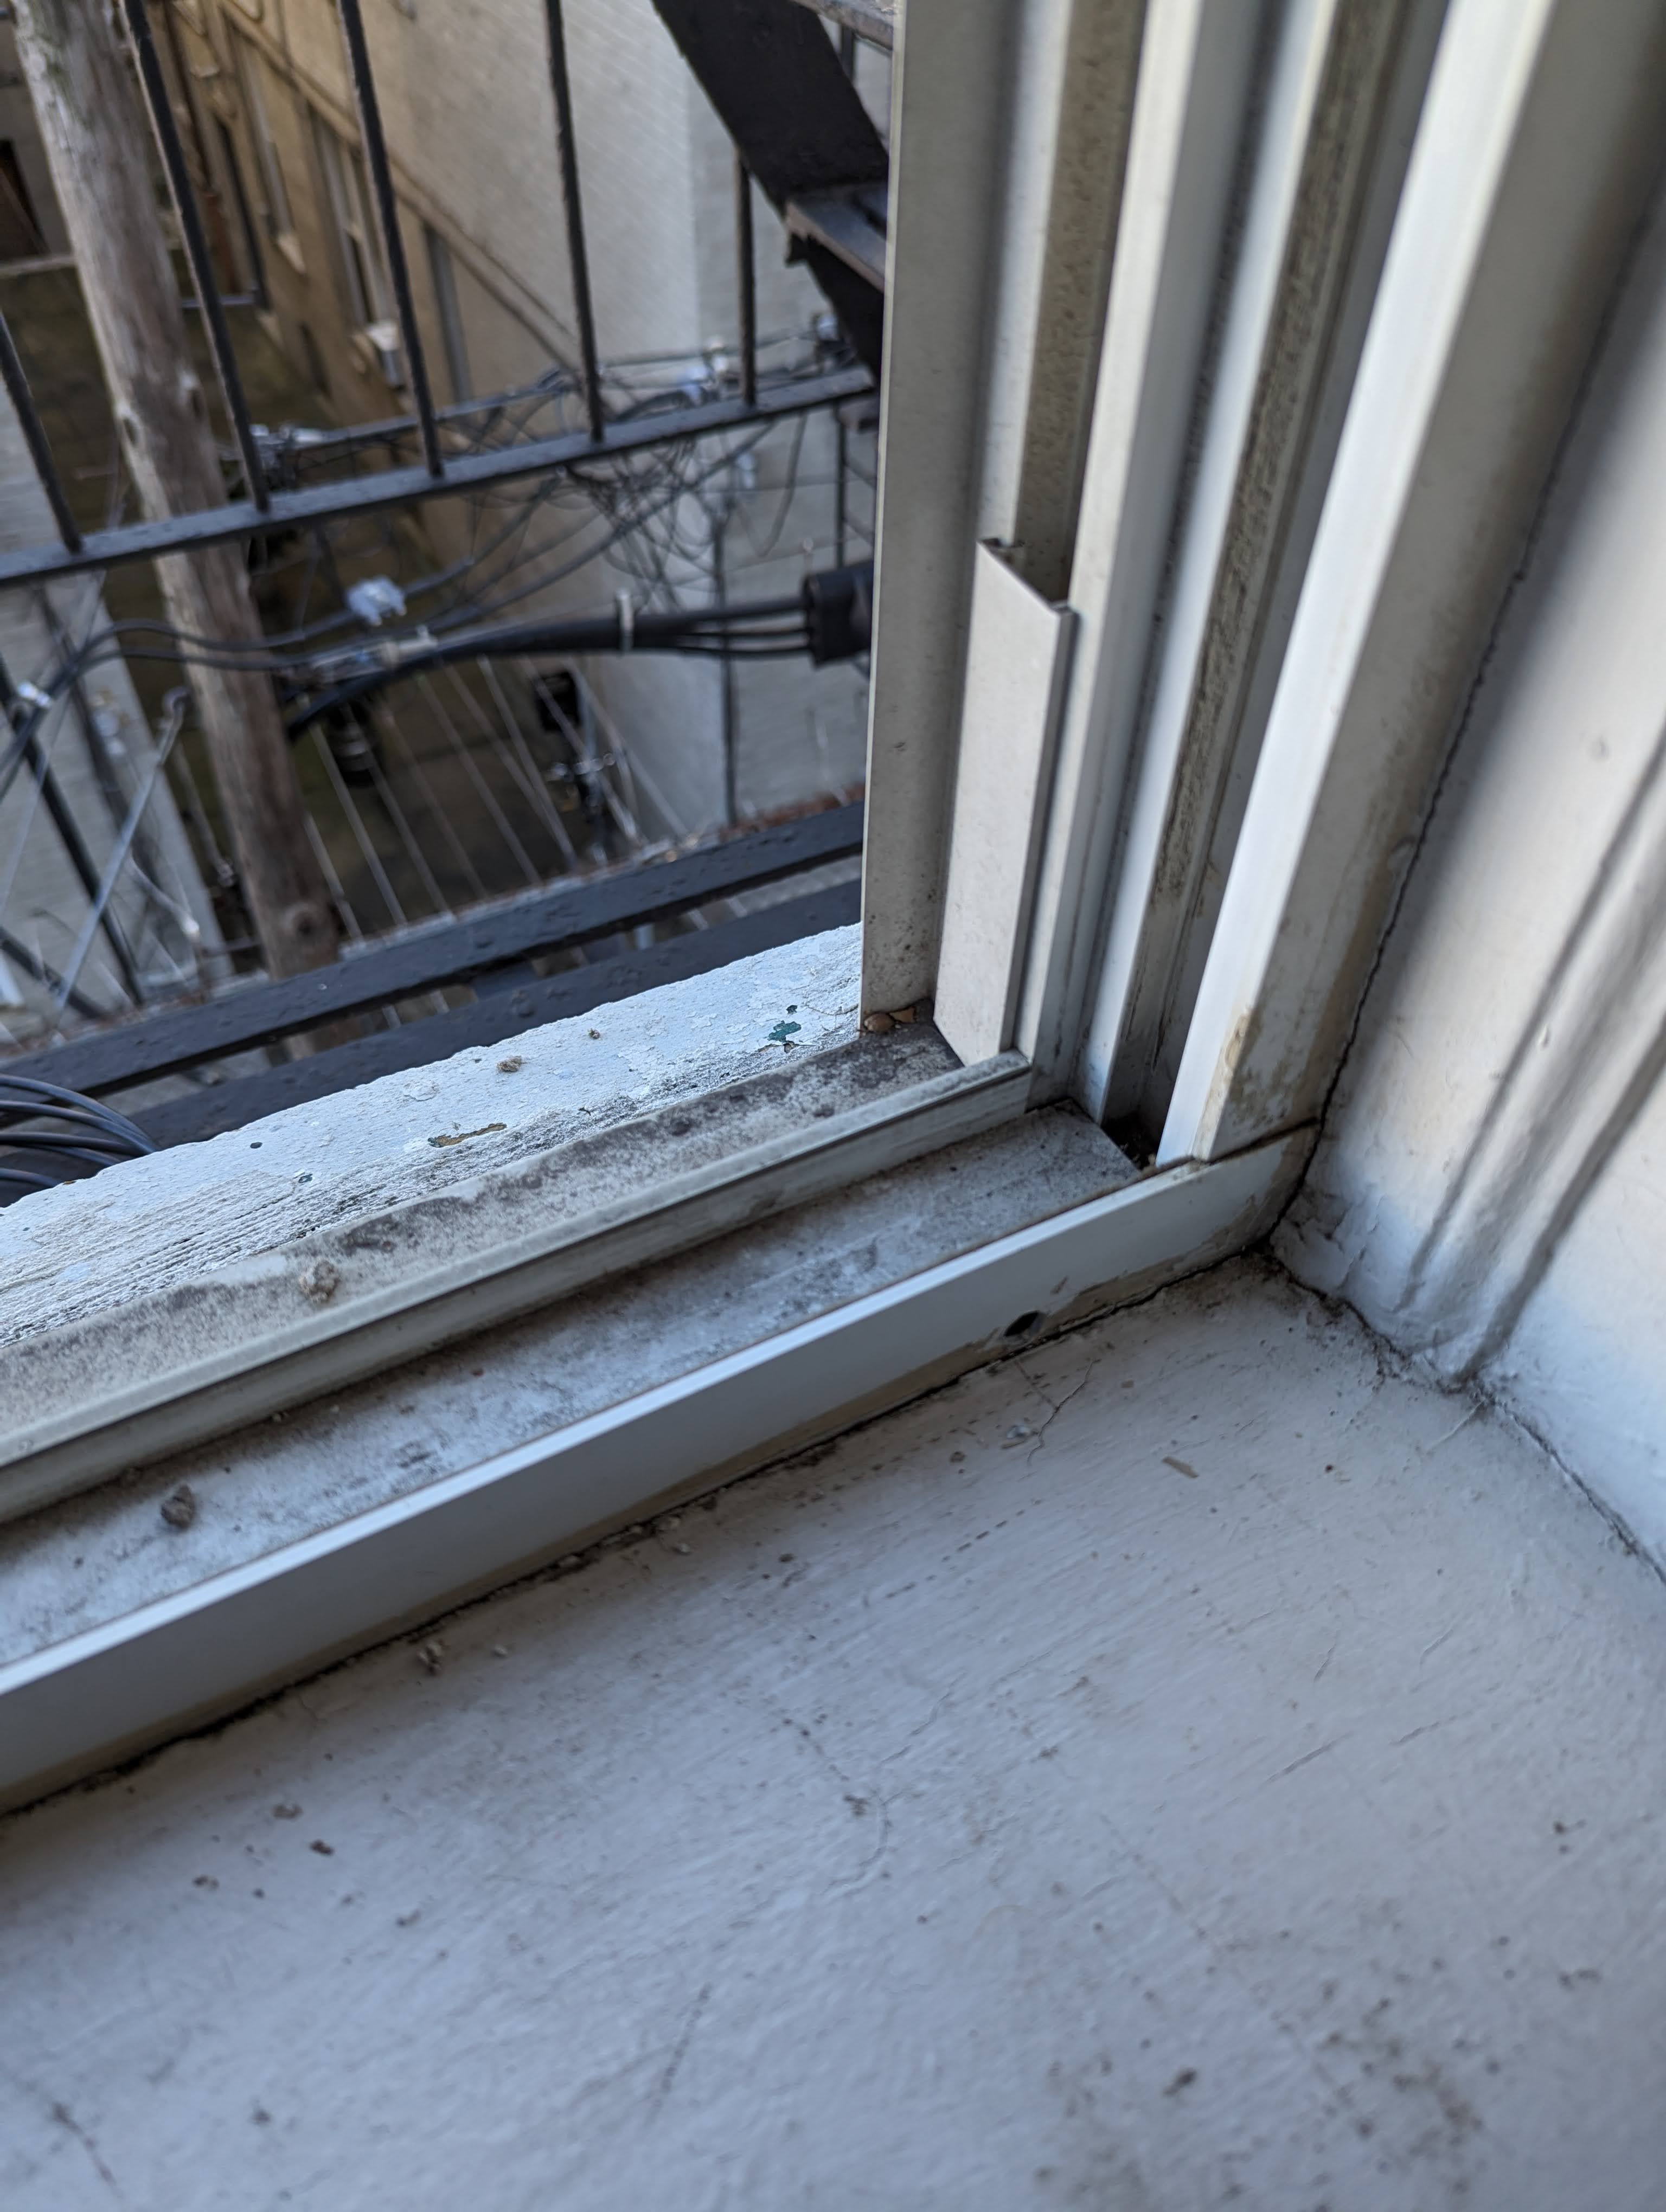
Side Opening (New fancy windows):
These windows are really problematic due the fact that there are usually very small frames, so there's no where to drill a hole though without impacting the function of the window or being too close to the glass (risk of breaking it).
Most of these windows will also not seal/latch shut properly with anything running through them. You end up with a big gap open around 3 sides of the window which will let in a ton of air and the member probably wont approve of.
In most cases the best way to deal with these new windows is to just find a new point of entry or just drill through the wall.
<insert photo of crappy modern window that's impossible to drill>