
Comfast CF-WA933 / Wayru WiFi 6 Access Point
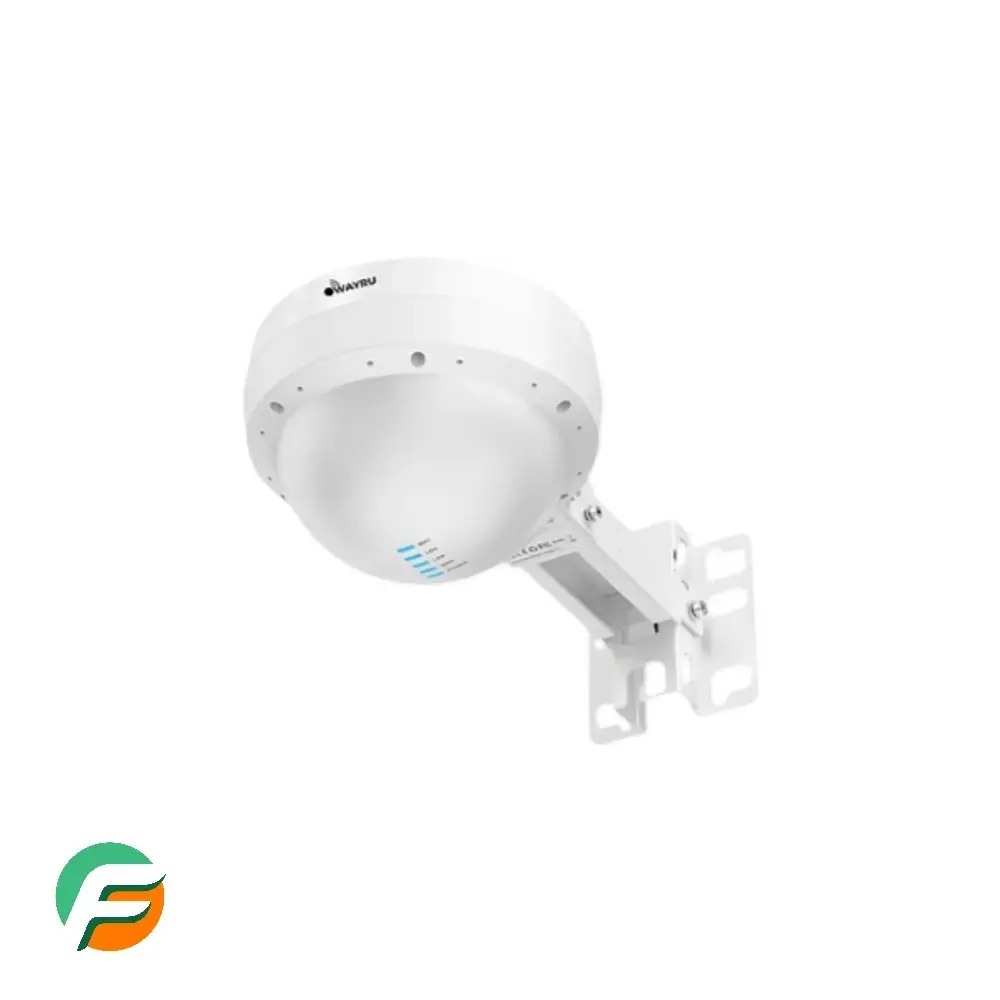
The Wayru AP is an outdoor WiFi 6 Access Point that can be reflashed to run OpenWRT.
Wayru was a crypto backed paid WiFi hotspot startup that shut down in 2025. We received a donation of ~70 of their access points from the company.
They are an Confast OEM WiFi 6 AP, with a custom Wayru firmware applied by the company. They can be reflashed back to stock OpenWRT open source router software and can be reused for other applications.
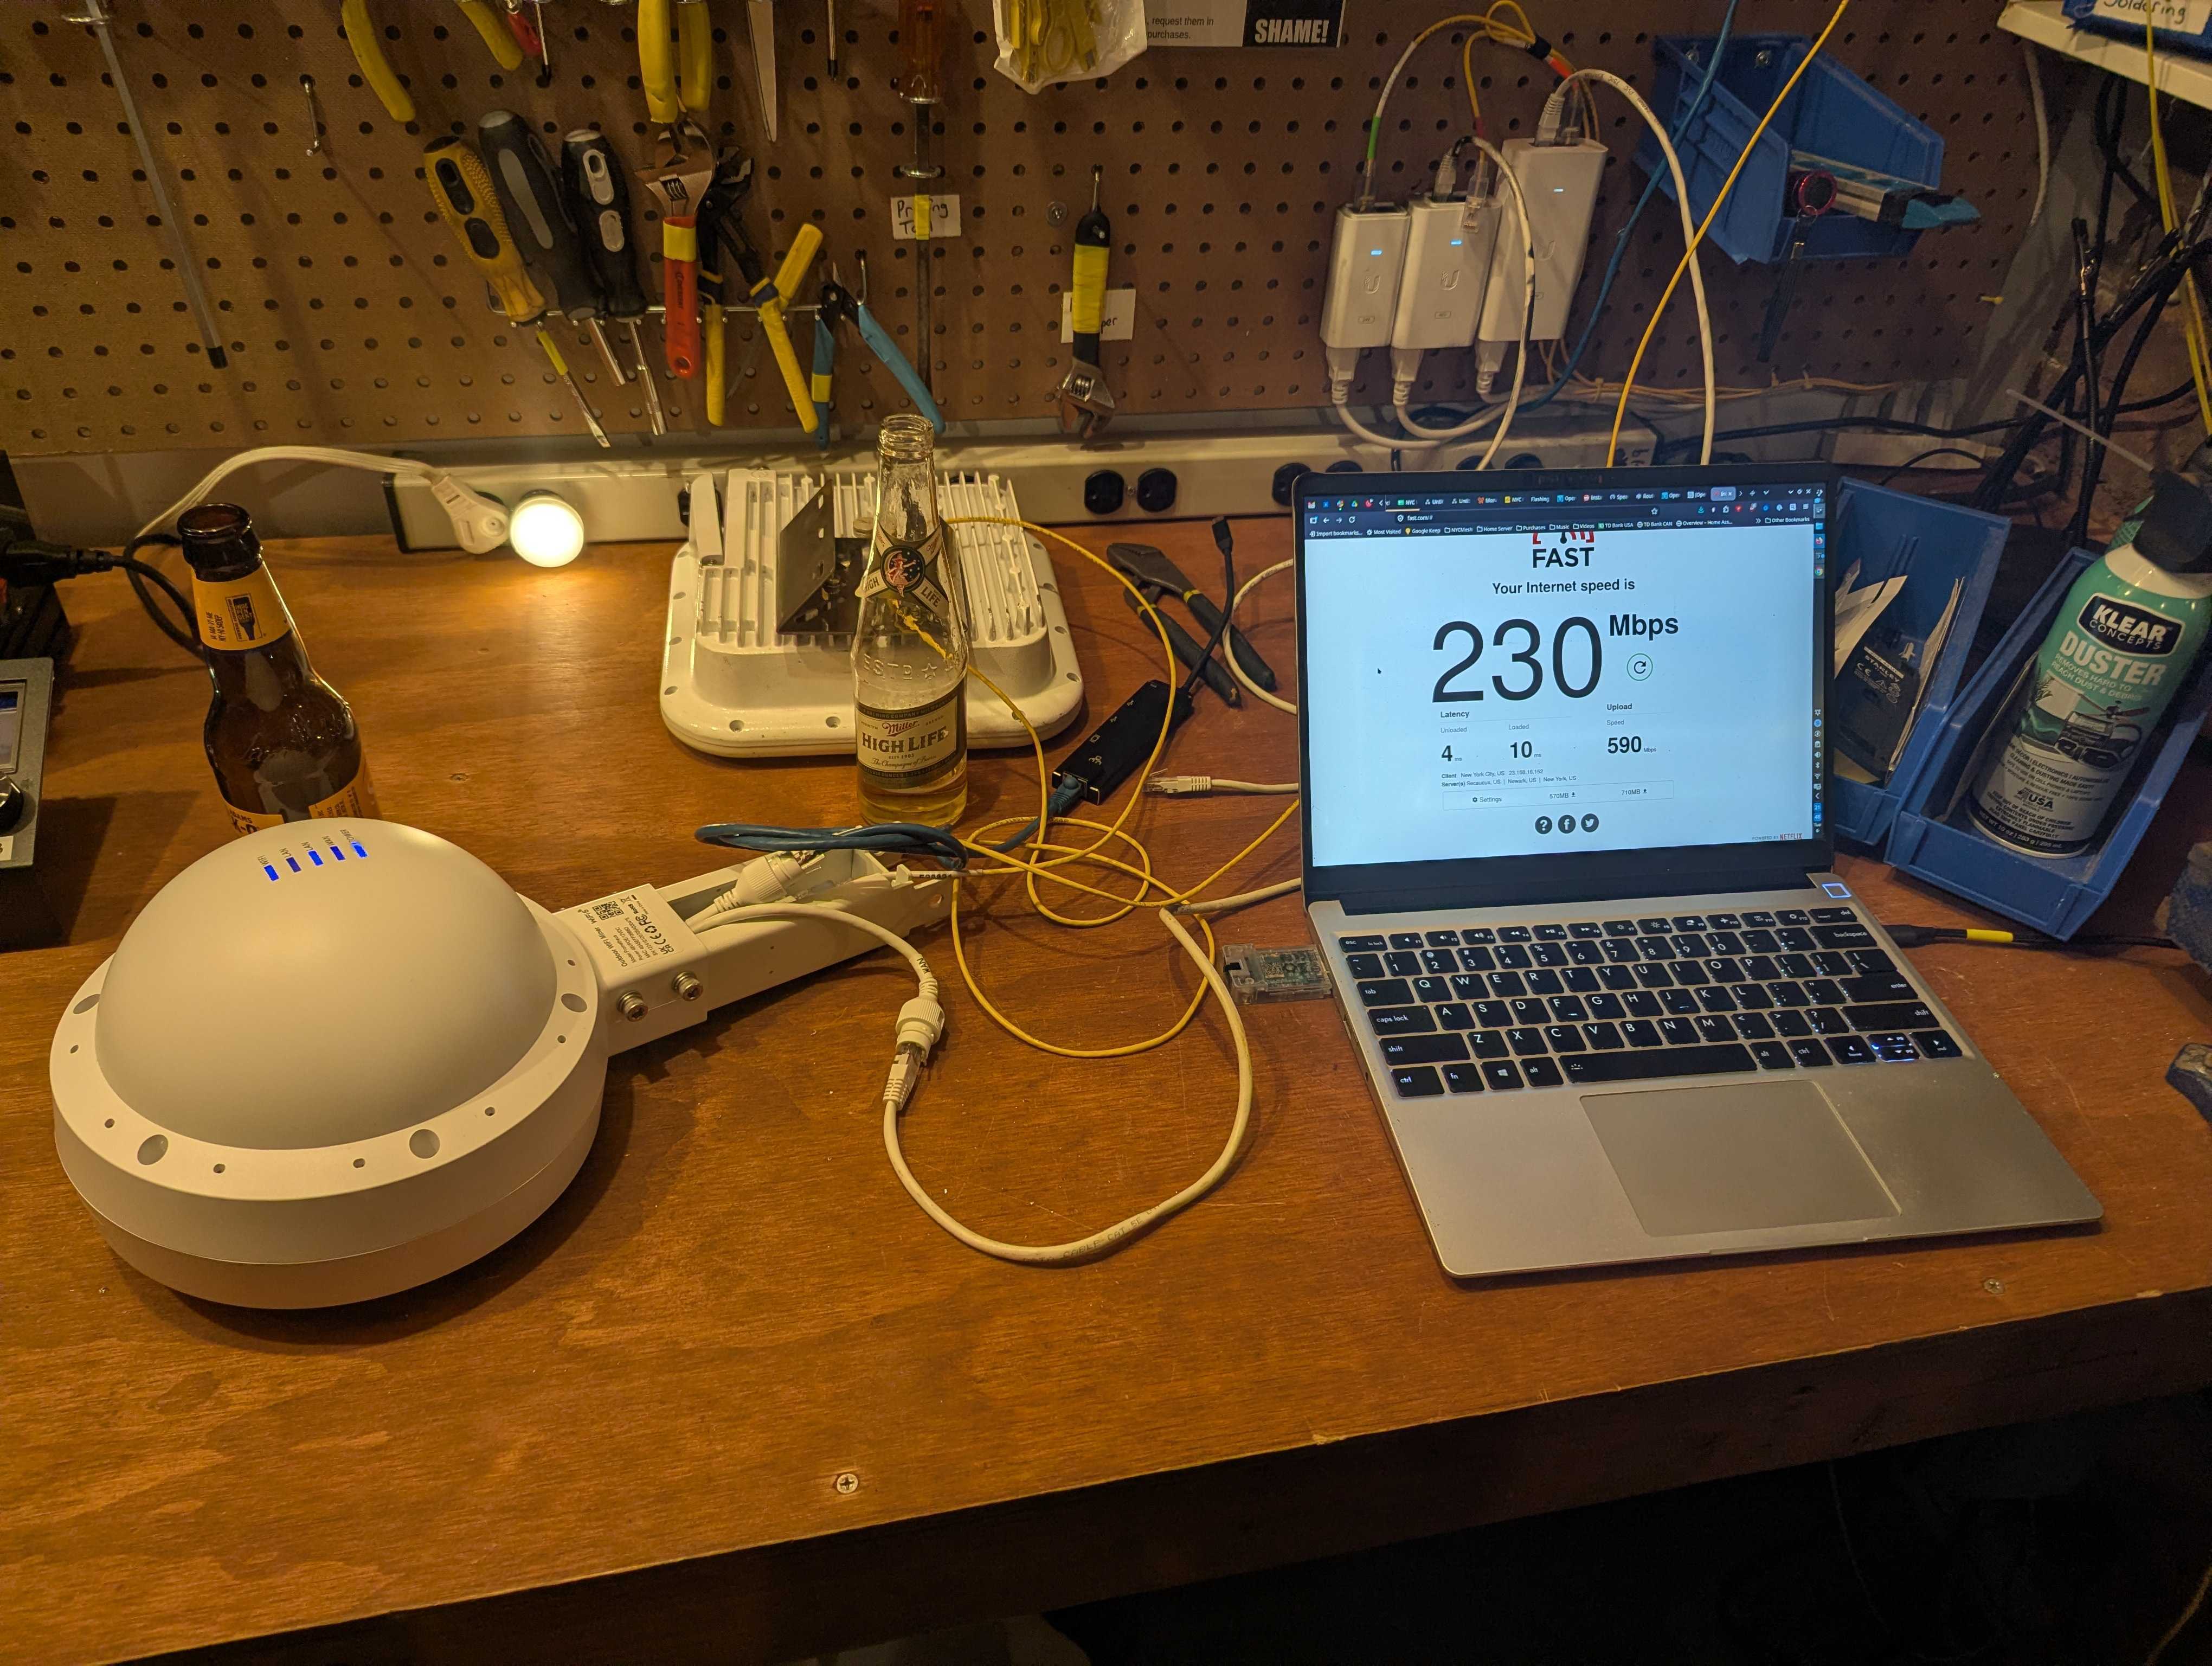
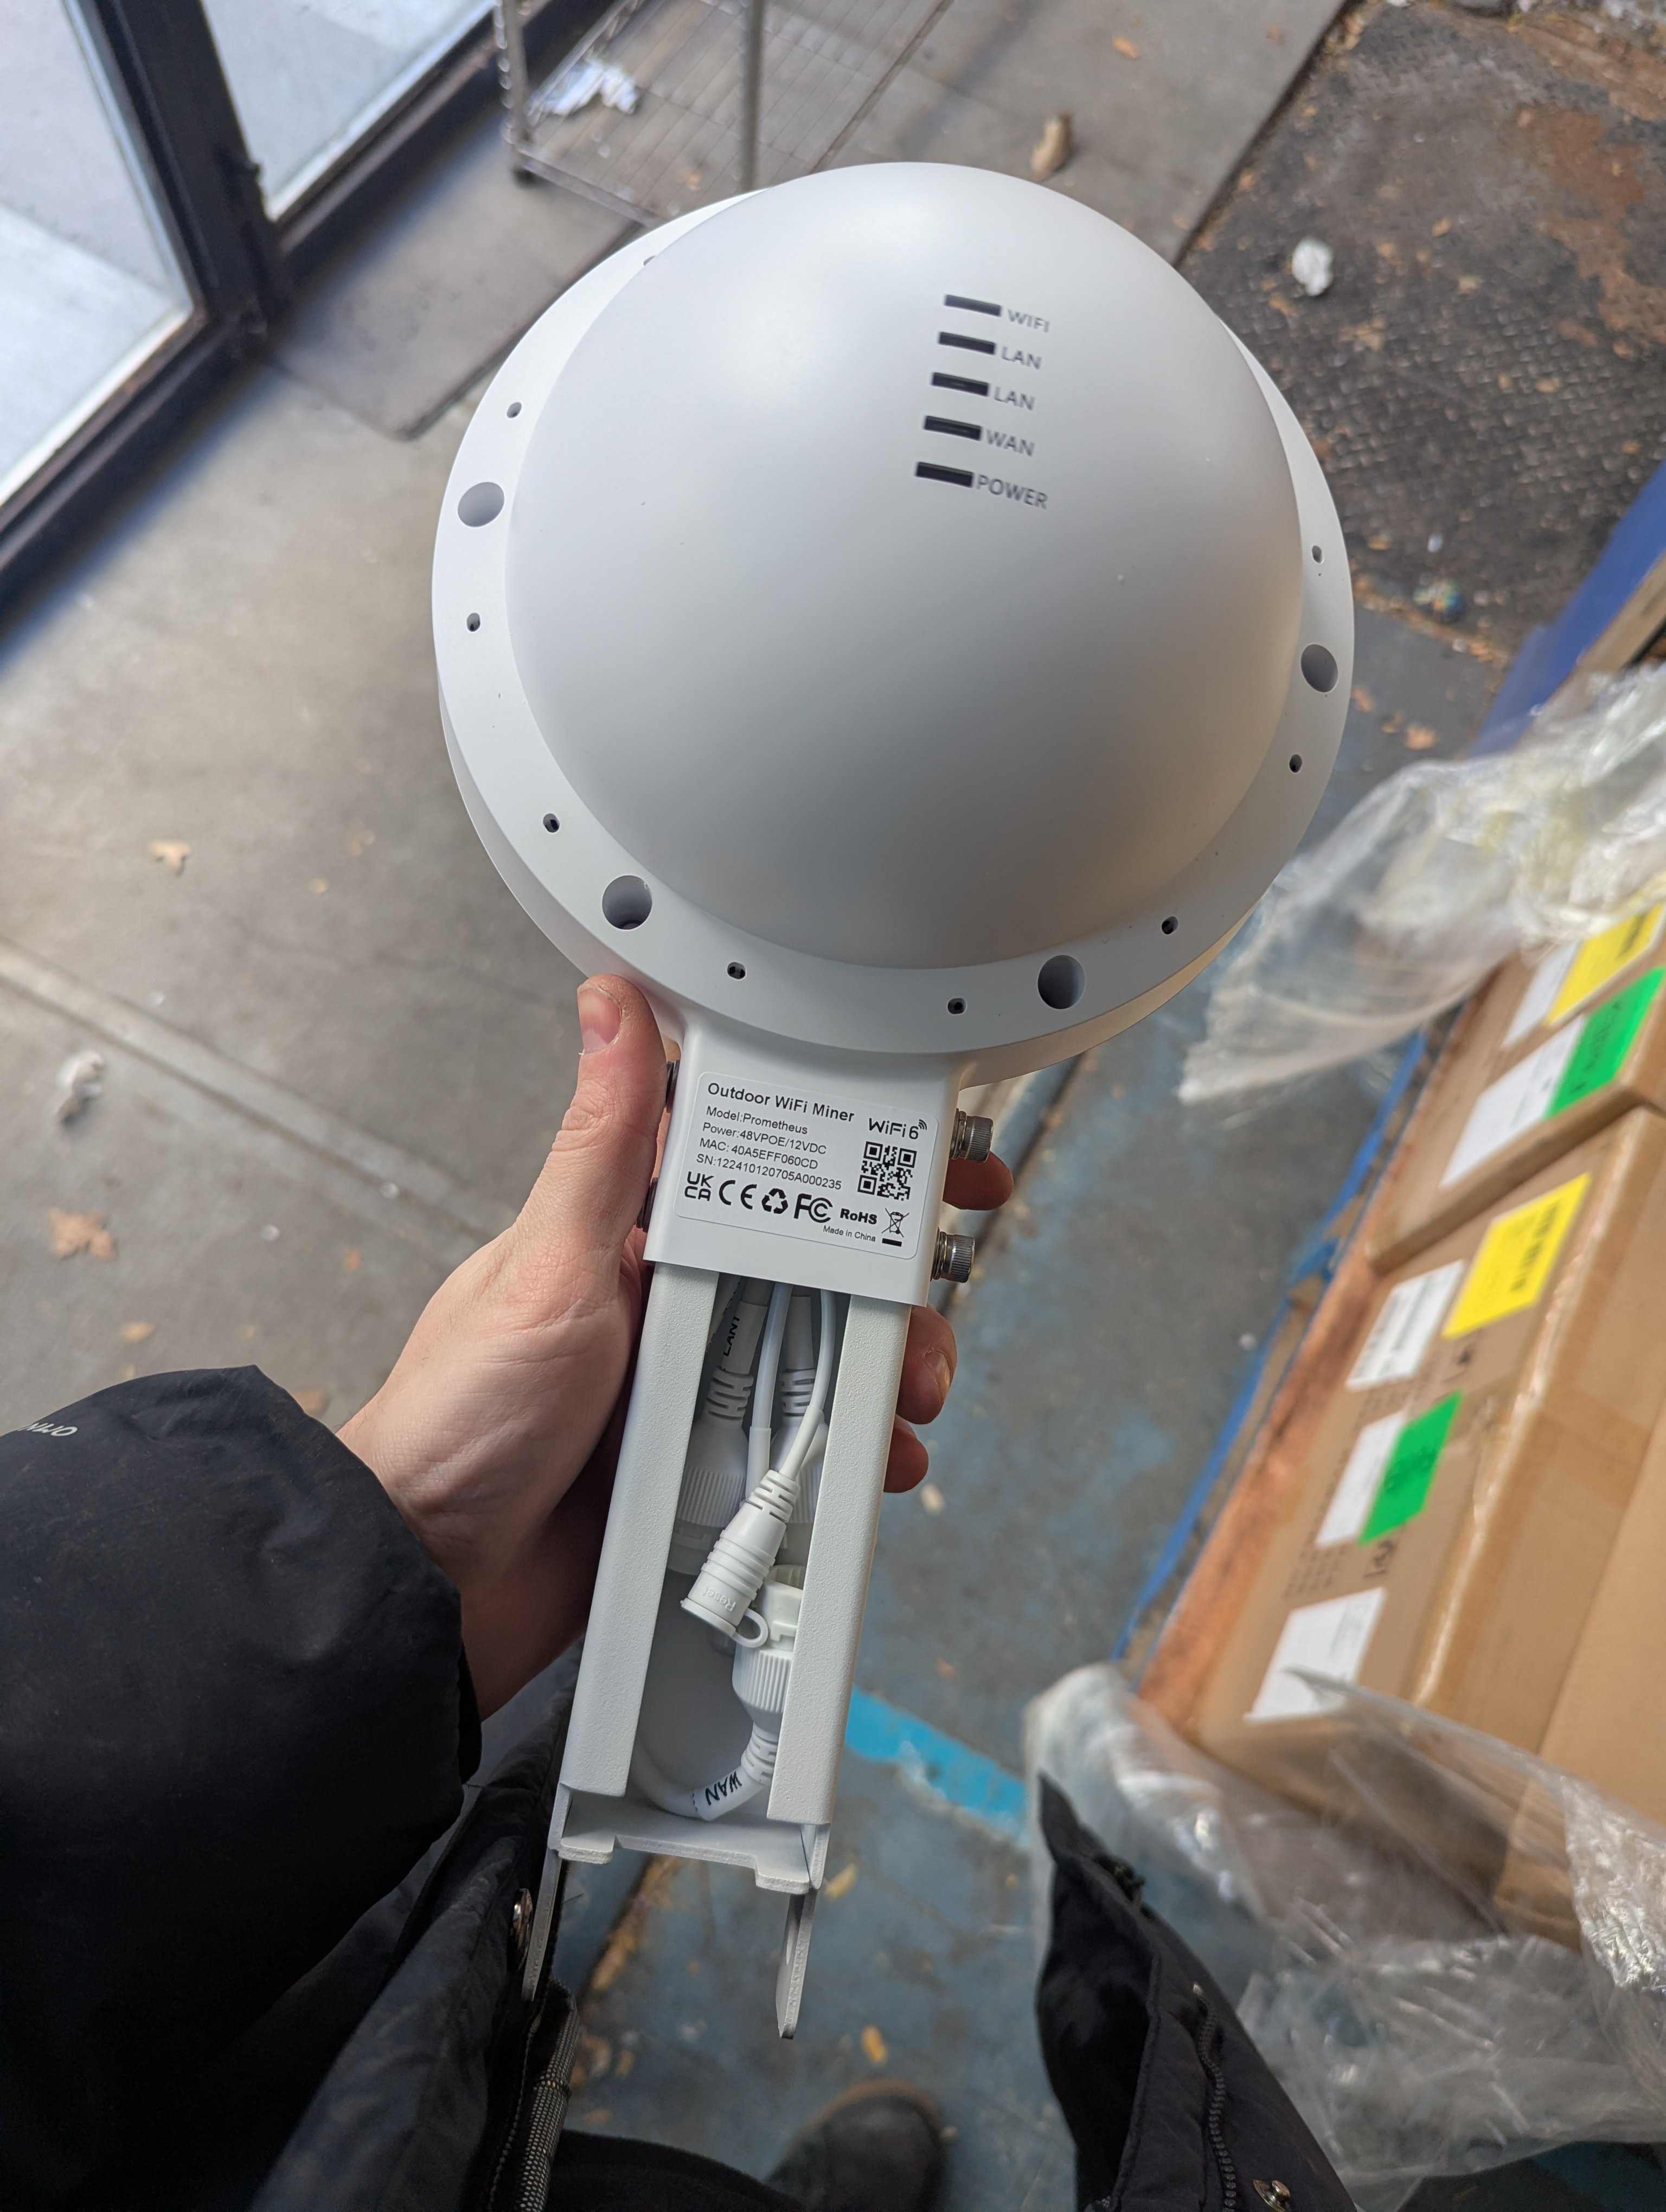
The access point is an outdoor unit that looks kinda like a security camera housing. (Probably reused injection molds)
It has 3 gigabit ethernet ports (1 WAN, 2 LAN), 12v DC power input and a reset button.
The unit has 2.4Ghz and 5Ghz WiFi antennas.
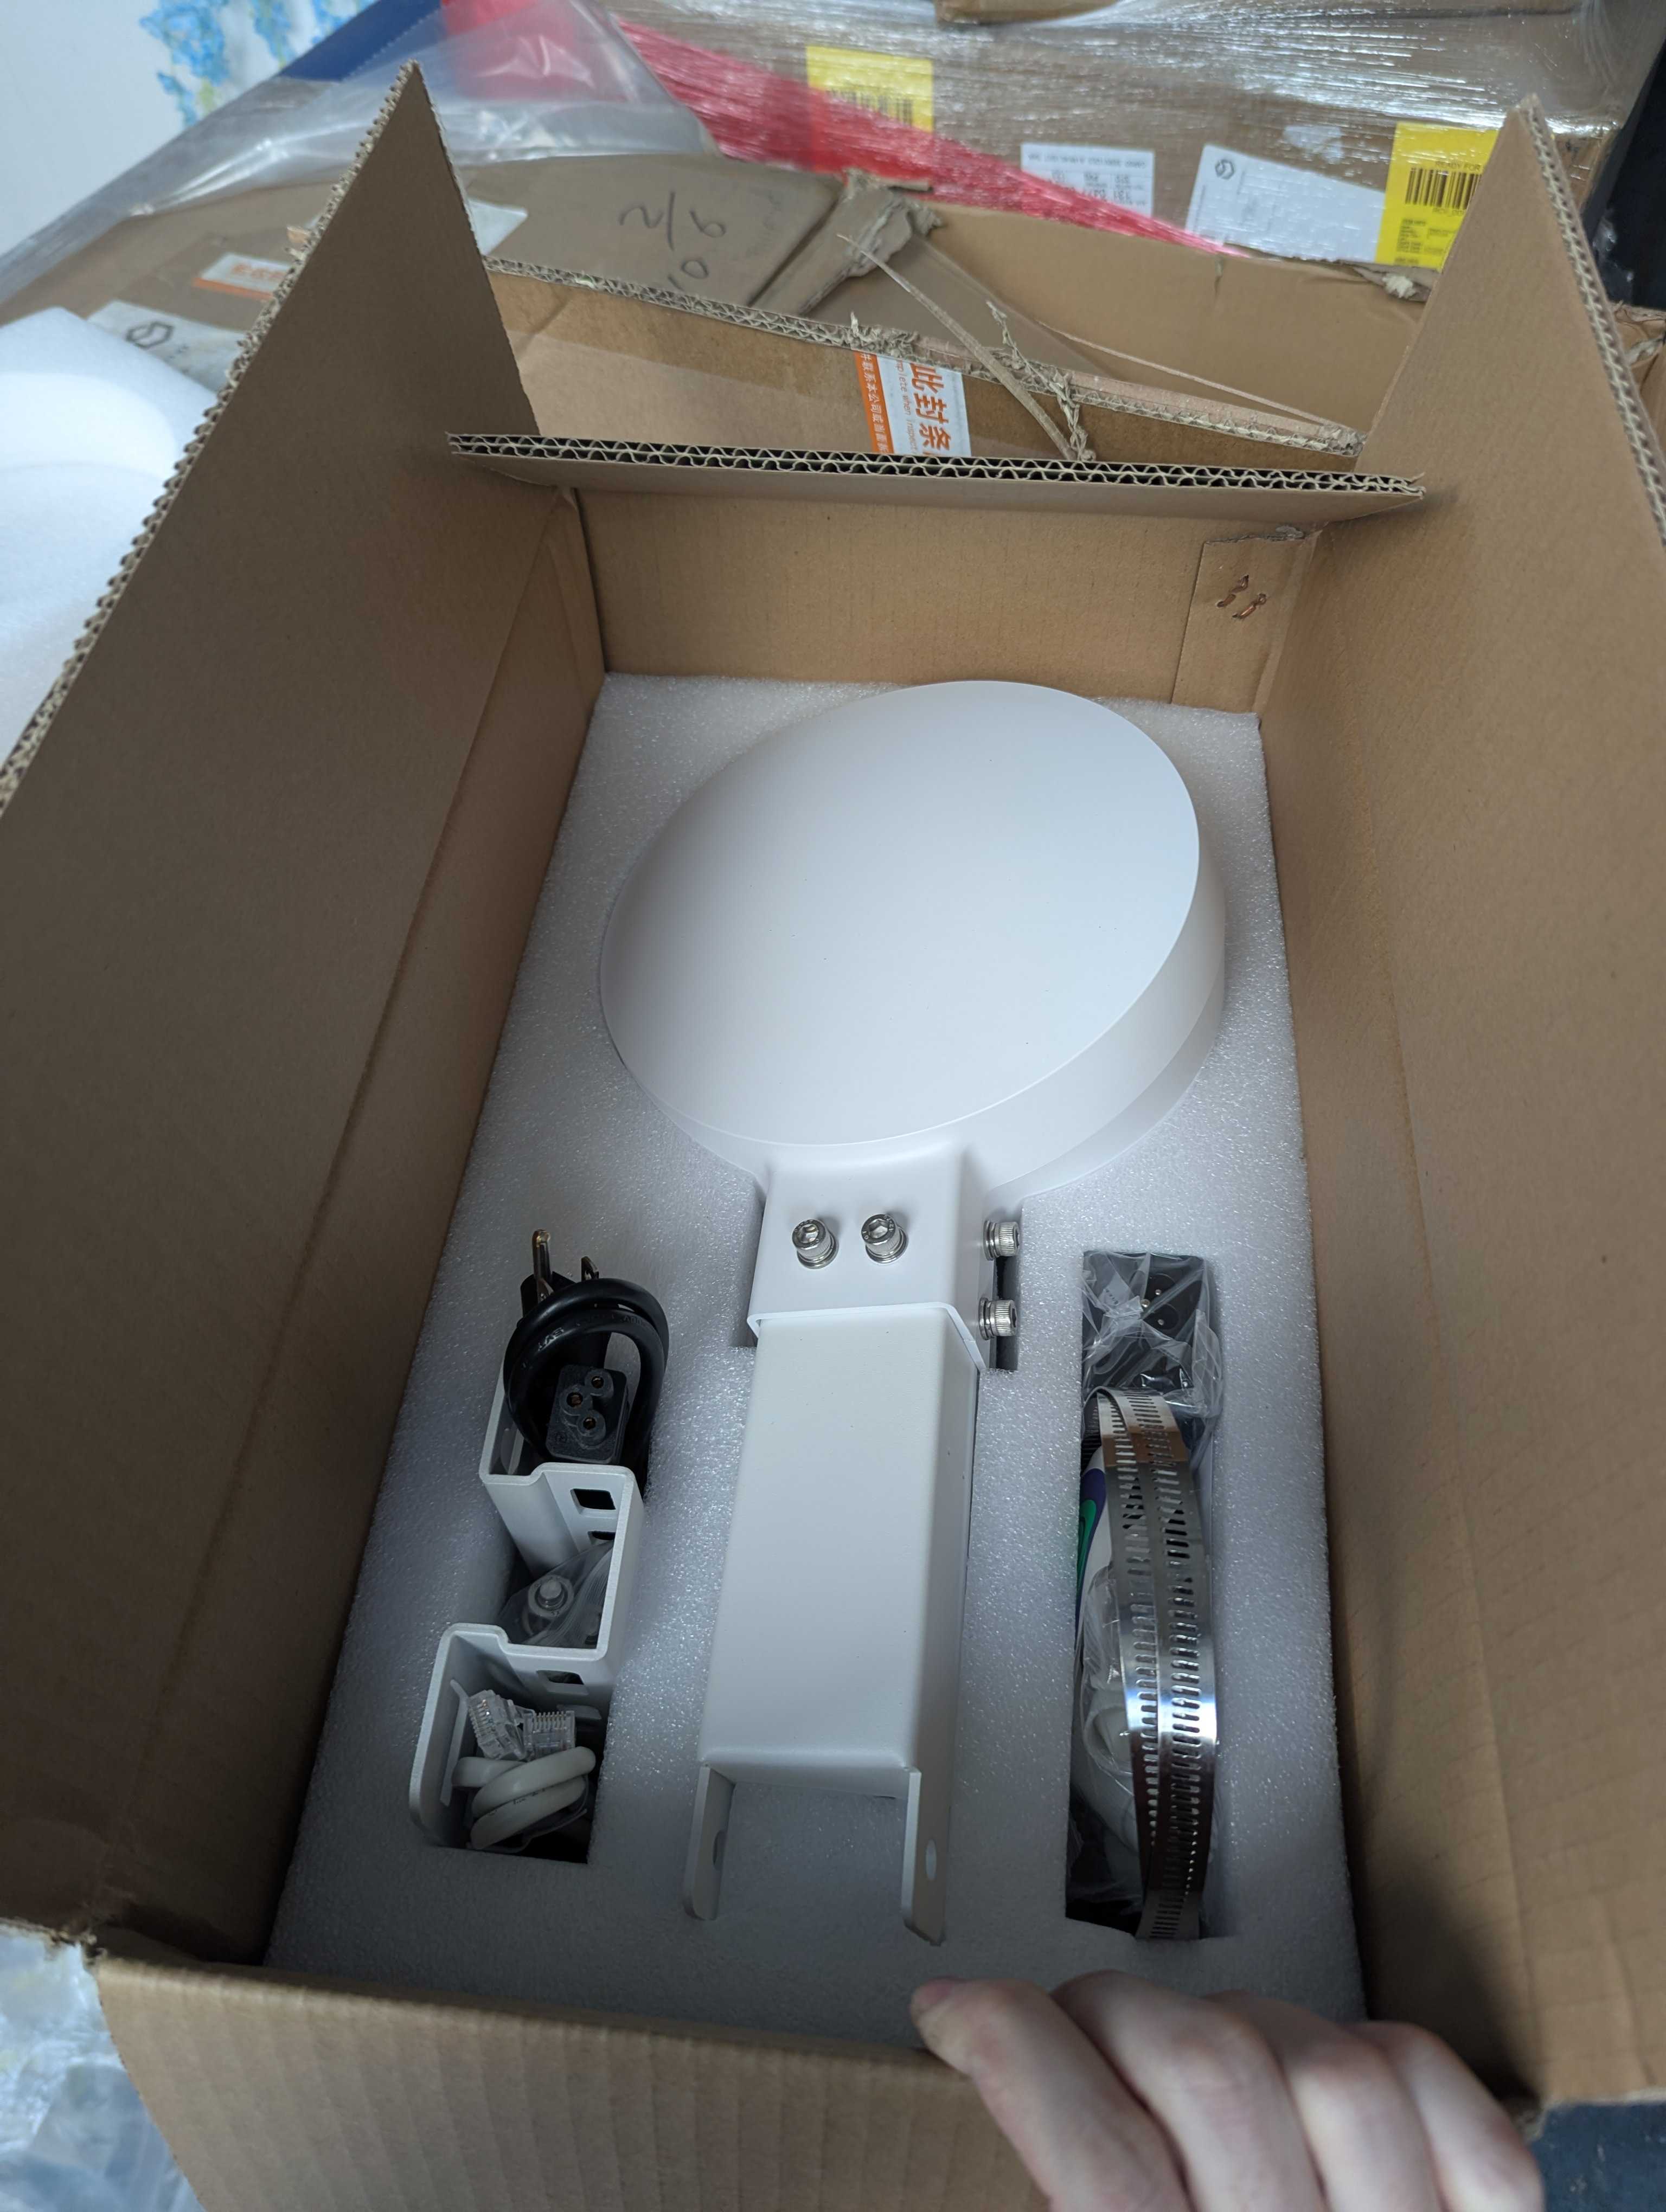
It comes in a box including the hardware for pole mounting and a 48v POE injector (24w).
The internals of the device look like the following: (credits to Guillume)
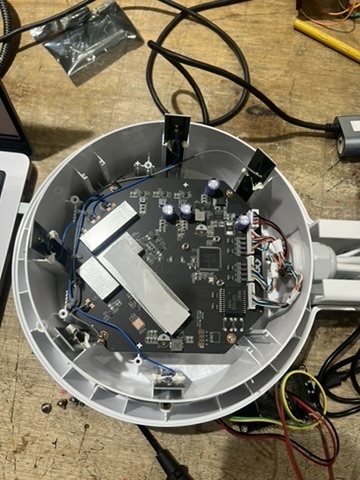
A few of these units have been deployed as access points and routers around the mesh.
Currently there are two units deployed at NYC Resistor NNXXXX. 1 Unit is in the space, running a WiFi AP and Wireguard VPN connection to the mesh.
There is another unit deployed outside their window providing public WiFi access for the street.
Performance of these units is good. They can succesfullly switch up to 600mbps between wired ethernet devices and have achieve 500mbps speeds as a WiFi 6 router.
Larger Mesh Deployment
Deployment more widely around the mesh as is a possiblity, as they should be able to support our OSPF routing protocol. However due to the lack of POE out and limited ethernet ports, they have limited use as rooftop routers / switches.
Large volume deployment as WiFi access points is also a posibility, but will need further work to determine a way to remotely manage / configure them in bulk, as is currently done for our Ubiquiti Unifi access points that are commonly being used.
Configuration Instructions:
Thanks to Guillume, Micro and Spike for doing the hard work getting this configuration to a working state!
The Wayru AP accepts 48v POE via the WAN Port or 12v DC power via the barrel jack.
Note: The WAN port or DC jack are the only power inputs. The LAN ports do not accept POE.
You will need this firmware - https://downloads.openwrt.org/snapshots/targets/mediatek/filogic/openwrt-mediatek-filogic-comfast_cf-wa933-squashfs-sysupgrade.bin
Note, this firmware currently doesn't come with a GUI installed, you will need to SSH into the device to install the GUI.
Compatibility for this device has been added to the stock OpenWRT firmware, but we're waiting on the next release cycle for it to be publicly available on the OpenWRT downloads page. We should update this wiki and the instructions once that happens.
- Connect your laptop with an ethernet cable to one of the LAN ports.
- Configure your laptop with a static IP of 192.168.1.2
- Connect the Wayru AP to power while holding the reset button.
- Wait for 5 flashes (5 seconds), then release the power button.
- Connect to 192.168.1.1 via your web browser. Make sure you connect via http, not https.
- Select the firmware you downloaded ealier, then click upload.
- Wait for the Wayru Access point to apply the firmware and reset.
- Connect the WAN port of the Wayru to an internet connection. Connect your laptop to the LAN port.
- Reset your laptop to use DHCP / Automatically assigned IP address.
- Open a terminal window and run ssh root@192.168.1.1 (no password)
- (Accept the ssh fingerprint if needed by hitting "Y")
- Once in the terminal, install the GUI by running the following command. This will connect to the internet, download the GUI and start it.
apk add luci luci-app-attendedsysupgrade luci-app-firewall luci-app-package-manager luci-app-usteer luci-app-wifihistory luci-base luci-lib-uqr luci-light luci-mod-admin-full luci-mod-network luci-mod-status luci-mod-system luci-proto-ipv6 luci-proto-ppp luci-ssl luci-theme-bootstrap - Now you should be able to log into the web GUI at 192.168.1.1
The OpenWRT documentation can be found here to continue configuration.